Login to view this content
Join Blender Studio for just €11.50/month and get instant access to all of our training and film assets!

01 - Head Modeling & Sculpting
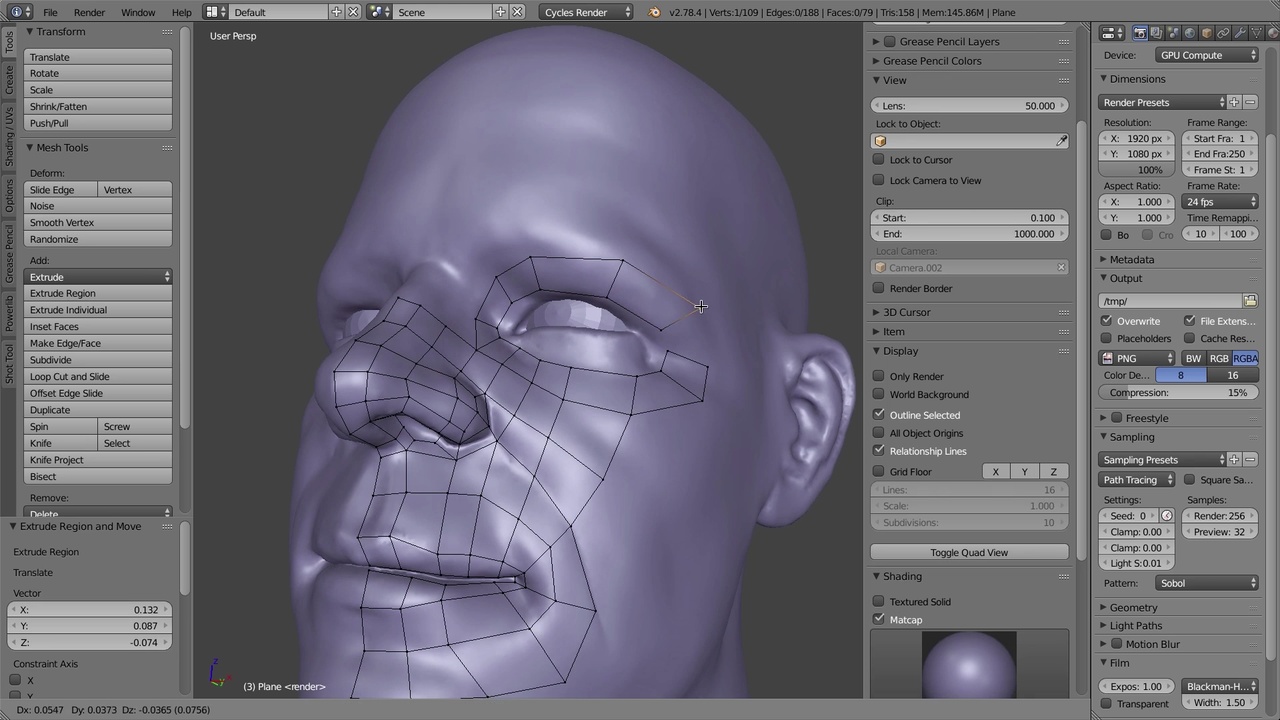
This video covers sculpting the head based on reference photos + the retopology process.
9 comments

Where the add on?

Hello.... this is for people who have knowledge and practice in the software. So ... we must learn first to use Blender in sculpting and return to this work

This does not feel like it's aimed at beginners. I cannot even follow along the first 5 seconds of the video. I'll come back to this at a later point because there is good stuff here, just not for my level.

@Diego Orduna Hi Diego, yes you are totally right. If you are brand new at modeling then this is probably not for you since you might need to know each and every step to get anything done. This workshop was aimed at showing overall process not individual tools. So it makes sense to get a bit more comfortable with the tools and then come back to videos like this that show more about process (since that is generally more important )

Hi! Could you maybe explain in detail how you set up your workspace to view the reference pictures from different camera views?

@Guybrush Threepwood Hi mr Threepwood :p I can see this question is over a year old so its probably not that useful to answer it, but I'm going to do it anyway :) This video was recorded in Blender 2.78 and I believe Blender has change quite a bit since then.
There is multiple ways to get reference images into the viewport, but one way is to use the Background Images function in the camera. You can only look through the main camera in the viewports, however you can add multiple viewports and set a Local Camera in the N-panel/ View tab for individual viewports. That way you can have multiple viewport with multiple cameras. That is one way
Another way is to use the marker system in the Timeline to bind multiple cameras to different frames. That way you can just scrub the Timeline and view through multiple cameras that way. If you dont know how markers work, you Add markers in the Timeline with the M-key, then you bind a camera with Ctrl+B (you can find all these functions and hotkeys in the Marker dropdown in the Timeline)

@Kjartan Tysdal Thank you very helpful!

Where is the add-on?

Join to leave a comment.