Login to view this content
Join Blender Studio for just €11.50/month and get instant access to all of our training and film assets!

The Head, Hat and Scarf P.1
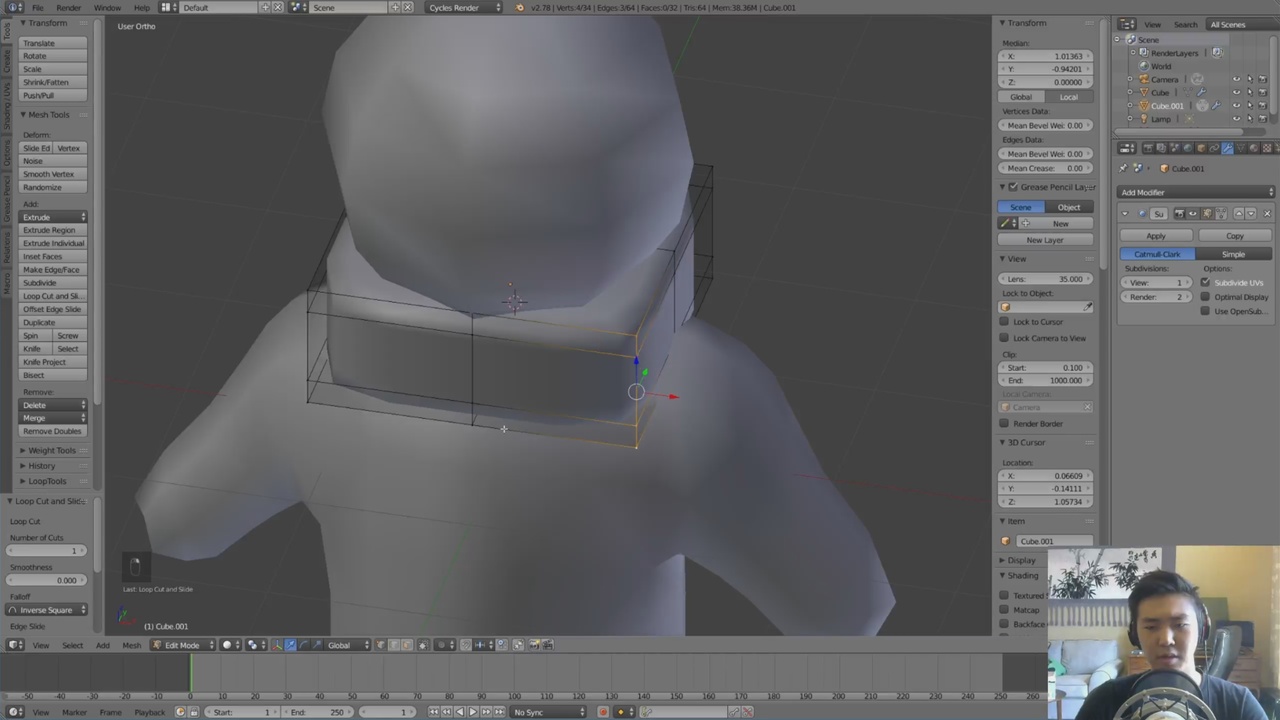
Continuing from the body, we will be modeling the hat and scarf of our character. These will modeled as separate objects from the body and head. Here we will explore the solidify modifier, as well as some other modeling tricks you can use to speed up your workflow.
11 comments

I wonder if there is a reason to chose a cube instead of a torus to make the scarf ? (3:24)

how do i add a solidify modifier to the scarf? it doesnt work.

@kbehrens44: He adds a sub surf Modifier not solidify.

how do you widen the cube? shift c?

@kbehrens44: yeah, I think thats shift Z, widens all except Z.

@kbehrens44: Scale first so S (to get into scale mode) then Shift-Z to scale all directions except Z.

@Stefan59: oh ok, but when I click Shift Z i get a type of animation mode. the only thing i see in that mode is the silhouette of the snowman.

When I added the head and scarf, it is still mirroring like the body and limbs. Did I miss a step before the Shift-A to add the Head?

@adishno: Guess I found my answer. Correct me if I am wrong, I should have hit TAB to exit edit mode on the Body, before creating the head or scarf. That would have made them different objects.

i have a problem as you have the scarf smoothing, I couldn't find that button at my screen

@alywalied: Are you in Object Mode? Smoothing is a standard shading tool. So as long as you have you tools menu up (T) then under the shading menu just click Smooth.
Steve
Join to leave a comment.