Login to view this content
Join Blender Studio for just €11.50/month and get instant access to all of our training and film assets!

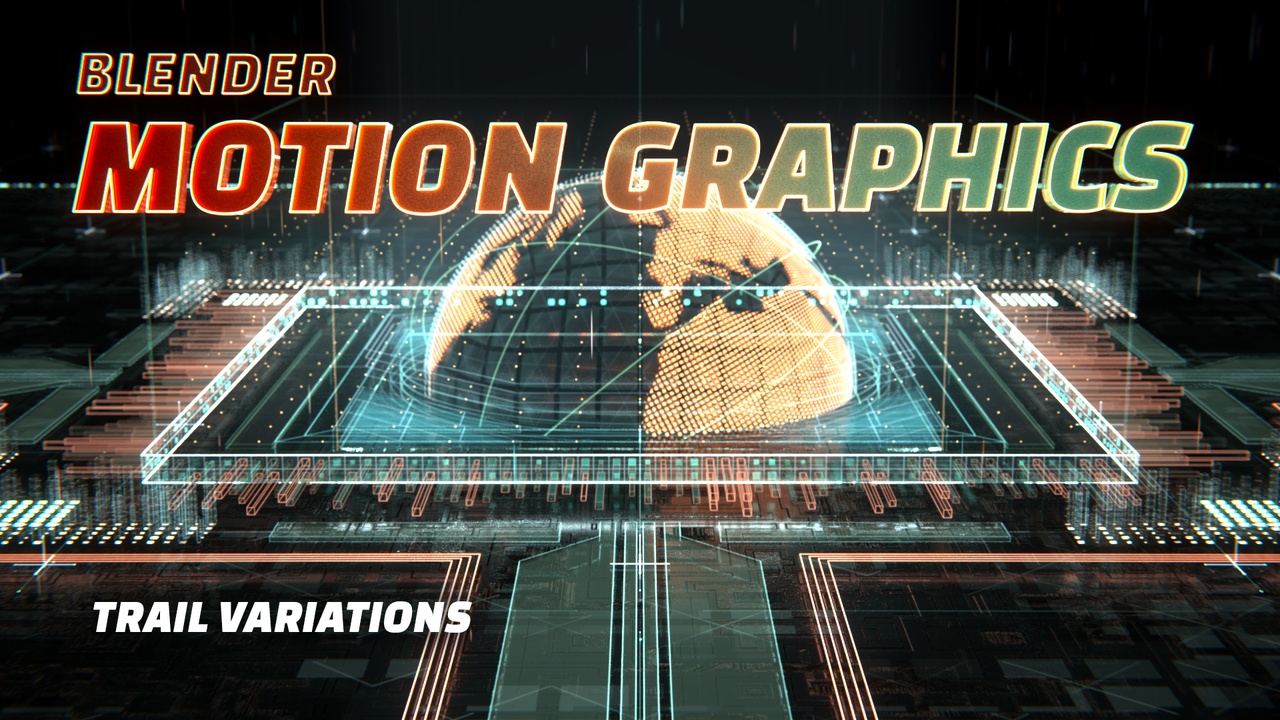
Trail Variations
With the particle trails set up as curves you can split them up to shade them separately. This adds more color and detail to the final result and allows for experimentation for more interesting results.
20 comments

Is there a way to add some objects that follows the paths right before the trail is drown (like a head of each line)?

@Jane Medvedieva You'd have to split them up in different objects I think. You could also duplicate the object and run the same particle simulation with regular objects instead changing them to paths and they might match up, but it'll be a bit fiddly I think.

thank you for your videos your the only speaker that dosent sound like warped warp warping ARE YOU THE ONLY AMEICA IN BLENDER YOUR SPEAKING VOICE IS BY FAR THE BEST YET IVE BEEN WATCHING BLENDER VIDEOS ALMOST 24/7 FOR THE LAST 2 MONTHS. LOL

@Jeremy Barnes all the other videos send me right to the refridgerator LOL. i want to learn blender not fast food lol AH! awesome videos 😎 i know its called blender but i achuly dont need a blender 🍍🍎🍓🍊🍉🍏🥤 maybe i do i have no idea LOL

@Jeremy Barnes Haha, I appreciate you comments. I'm not actually an American even. :P

Very nice, thank you !!


*@Felipe Lira* Nice!

*@Midge Sinnaeve* Thank you! :D

how were you able to separate the curves so that you could animate each one. For some reason in the dope sheet I could not animate the curves separately cause they were linked

*@JPCokes* Did you animate them first? If so, you'll have to unlink the animation in the NLA editor. If htey're not animated you should be able to split and animate them separately.

nice tricks ;) very useful

Thank you so much for this course! I can't wait to start playing around and making some weirdly awesome stuff!!!

after the random selection at .025 per cent when i click on ctrl "plus" on the num pad nothing appears

@deniswolff2003: Make sure you're using the "+" sign on the numpad for it to work.

Really great series - Thank you! how did you go about achieving that colored haze on the final render of this scene?

@dan.crane2: In the compositor I use an Ellipse Mask that I pipe in to a Color Ramp to colorize it. Then, I blur that result and mix it in over the render with the Add blending mode. You can find the blendfiles in the production assets section of the course to take a look at.

So much ingenious thinking in these tutorials. As someone working with motion graphics a lot, I find this incredibly motivating.

I didn't even know that there was a random select for verts

@3pointedit: I've since learned you can hit CTRL+L to select all the linked verts on the spline for quicker use. :)
Join to leave a comment.