Login to view this content
Join Blender Studio for just €11.50/month and get instant access to all of our training and film assets!

Weight painting the hands
WEIGHT PAINTING THE HANDS
Side note about faster deformation setups.
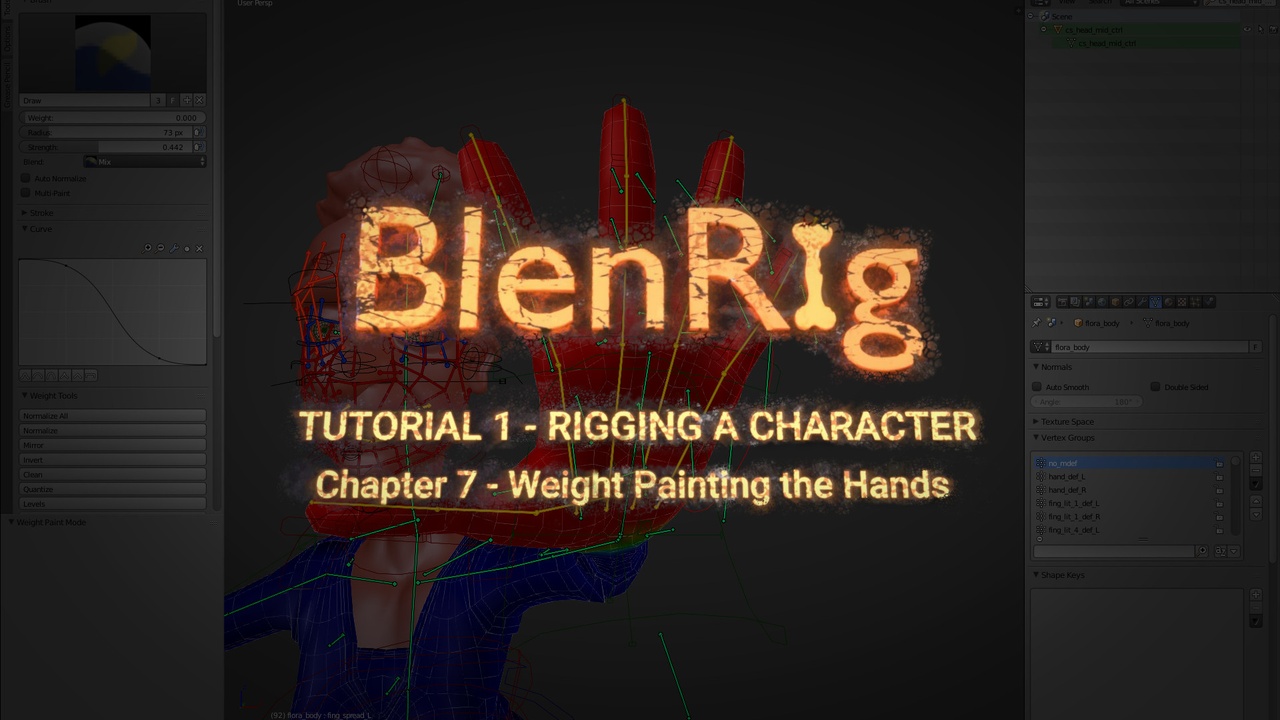
Learn how to weight paint the hands with volume preservation in mind.
14 comments

Hi Juan Pablo, I'm having a similar issue as sfbedu. In Blender 2.82, when I try to weight paint the left hand of my character, the right hand does not mirror. The bone rolls are ok, the rotation of the object is (0,0,0) and the mesh is the same for both sides. I tried with After spending 1 hour on it, I am not able to figure out why it is not working. Would it be possible to have some help (or a reference to where to find possible solutions). Thanks a lot!

Hi Juan Pablo, I am having some difficulties to follow along a with blender 2.8. I have a character that is one single object and I am not sure how to go about it. In 2.8 I have to select the faces in which I want to paint and they do not mirror whereas you seam to do it straight away from weight painting mode. Can I have some help please? Thank you

hi Juan Pablo Bouza, in this tutorial, you say we can reuse a rig to other character?where can i find the video or materials for this technique?

Hi @Juan i've an issue with hands rig. I used your way but in certain rotations finger's mash goes away and destroye . Is not a wheight issue but i think a rotation inherit. It doesnt' happen with hinge to 0 in Ik mode. Maybe the issue can be solved like in Agent 327 rig. I saw that iK doesnt control the hand's rotation and Fk controls the rotation..
Did u know about this issue??? Is there a way to solve it?

https://thumbs.gfycat.com/OrganicSoggyHoki-size_restricted.gif
the issue appears when i close the hand by the scale controller . When i rotate it after the sclale it destroye.

@Luca Di Cecca:

@Luca Di Cecca: Is it possible that this issue is caused by "Preserve volume in Armature modifiers?

Note to anyone who is a bit confused on adding deformation weight the hand.
CTRL+Right Click 'or which ever is your select button' the bones to move them around while weight painting.
Where I got a bit lost until finally figuring things out was @07:15 in the video
CTRL+Right Clickhand_ik_ctrl_L to move the wristCTRL+Right Clickhand_def_L- Left Click anywhere to go back into weight paint mode
- Color that blue hand red! :-)
Thank you Juan for your wonderful tutorials! Your in light but focused explanation of what is happening is very helpful when learning to understand rigging and Blender! I just started learning Blender so I am no where near the knowledge level of some. Best wishes to all wanting to learn! Have fun!

*@Jeremy Gharst* Hi, thanks for your note but I'm still confused about trying to select "hand_def_L". When I press CTRL+Left Click I can only select "hand_ik_pivot_point_L" not the one it's needed, It's like those Def bones would be blocked or something like that. I'm using blender 2.8. Any help would be so handy, thank you so much.

I must say this is by far the best work I've seen. Thank you. I'm using the "Dynamic" option when binding the model to the mesh deform cage. The problem is that when I move the character around in the seen, the vertices in the "no_mdef" group with a weight of anything but 0 or 1 start to pull away from the mesh. The further away from center I move the character, the more the verts pull toward the origin. My question is how do I blend the weights of "no_mdef" and "hand_def_*" to achieve a smooth joint at the wrist and neck. I really need the dynamic option on the binding to use shape keys on the character's mesh.

@brucelandry24:
Hi Bruce! Try this, don't ask me why, but this is the crazy setup you need to use for the dynamic option:
<a href="http://imgur.com/SUlT9O8"><img src="http://i.imgur.com/SUlT9O8.jpg" title="source: imgur.com" /></a>
Same mdef group and all, but with the modifiers set like this and in this order.

@jpbouza: AWSOME! Thanks for helping me out. I did get close trying diferent combos and order of modifiers. But I never thought of reversing the "no_mdef" group for Armature modifier. I'll have to play with this a little more before I can safely call it fixed. Thanks again!!!!

Hi Juan Pablo! For naked characters you have the whole body (including the head) into a single one object. So you cannot have the Armature modifiers with (for the hands) and without (for the face) the Preserve Volume option. What's the proper way to go?
I thought that it might be necessary having two more vertex groups for two different Armature modifiers. So we had no_mdef for the Mesh Deform modifiers and face_def and hands_def for two Armature modifiers.
Do you think it would work? Is there a more convenient way? Thanks in advance!

@Forgotten.Fantasies:
Hey man, yep, that's the way to go :) Here's the link for the two oldies:
https://dl.dropboxusercontent.com/u/1716042/BlenRig%205/blenrig_characters.zip
The old man has the setup you are talking about.
Join to leave a comment.