Organizing Bones
In Blender, bones can be organized using Bone Collections, or Bone Selection Sets, if you use that add-on.
Bone Collections
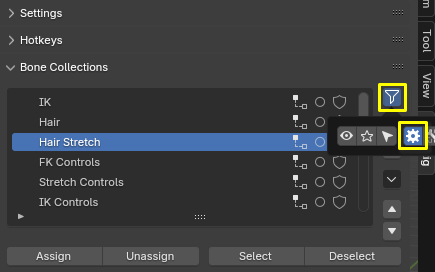
CloudRig has a slightly tweaked Bone Collections UI from what you might be used to. This is shown in both the Sidebar (N panel) as well as under Properties->Armature->Bone Collections->CloudRig. Besides the usual Hide/Solo buttons, there are a number of other things which can be shown or hidden using the Funnel icon:
- Number of selected/total bones in a collection (recursive).
- A custom Select operator: You can hold Shift to extend selection, Alt to deselect, and Ctrl to mirror the selection.
- Quick Access toggle (circle icon): See below.
- Preserve On Regenerate toggle (shield icon): See below.
- Reorder Collections (compass icon): Since this UI lacks drag&drop, this button tries to substitute it.

You can also summon them using Shift+M on a CloudRig armature.
Organizing Bones
If you want to customize which generated bones get placed in which bone collections, you can do this using Bone Sets. Let's say we have a strand of hair rigged with the FK Chain component type, and we want the hair FK bones to go on a Hair collection that we created, not the "FK Controls" collection that it uses by default.
Organizing bones is considered an advanced feature, so enable Advanced Mode. At the bottom of the parameters, you'll find the Bone Organization sub-panel:

What you see listed here are the so-called "Bone Sets" of the active rig component. Every generated bone belongs to a Bone Set, which is hard-coded; Bone Sets cannot be re-named, added or removed. However, they allow you to customize certain visual and organizational properties of their corresponding bones:
- Which bone collections they are assigned to. This list can be reset with the refresh icon.
- What theme color the bones use.
- Wire width of the bone shapes. The eye icon reveals additional Bone Sets, which you would rarely need to customize because they should be hidden from animators.
Bone Colors
You can also choose a color preset to assign. This preset will be converted to a custom color, meaning your personal color presets will propagate to whoever uses your rig. This ensures the rig looks the same way, no matter who's using it. Additionally, you can change Blender's default color presets to CloudRig's recommended ones in the preferences, using this button: 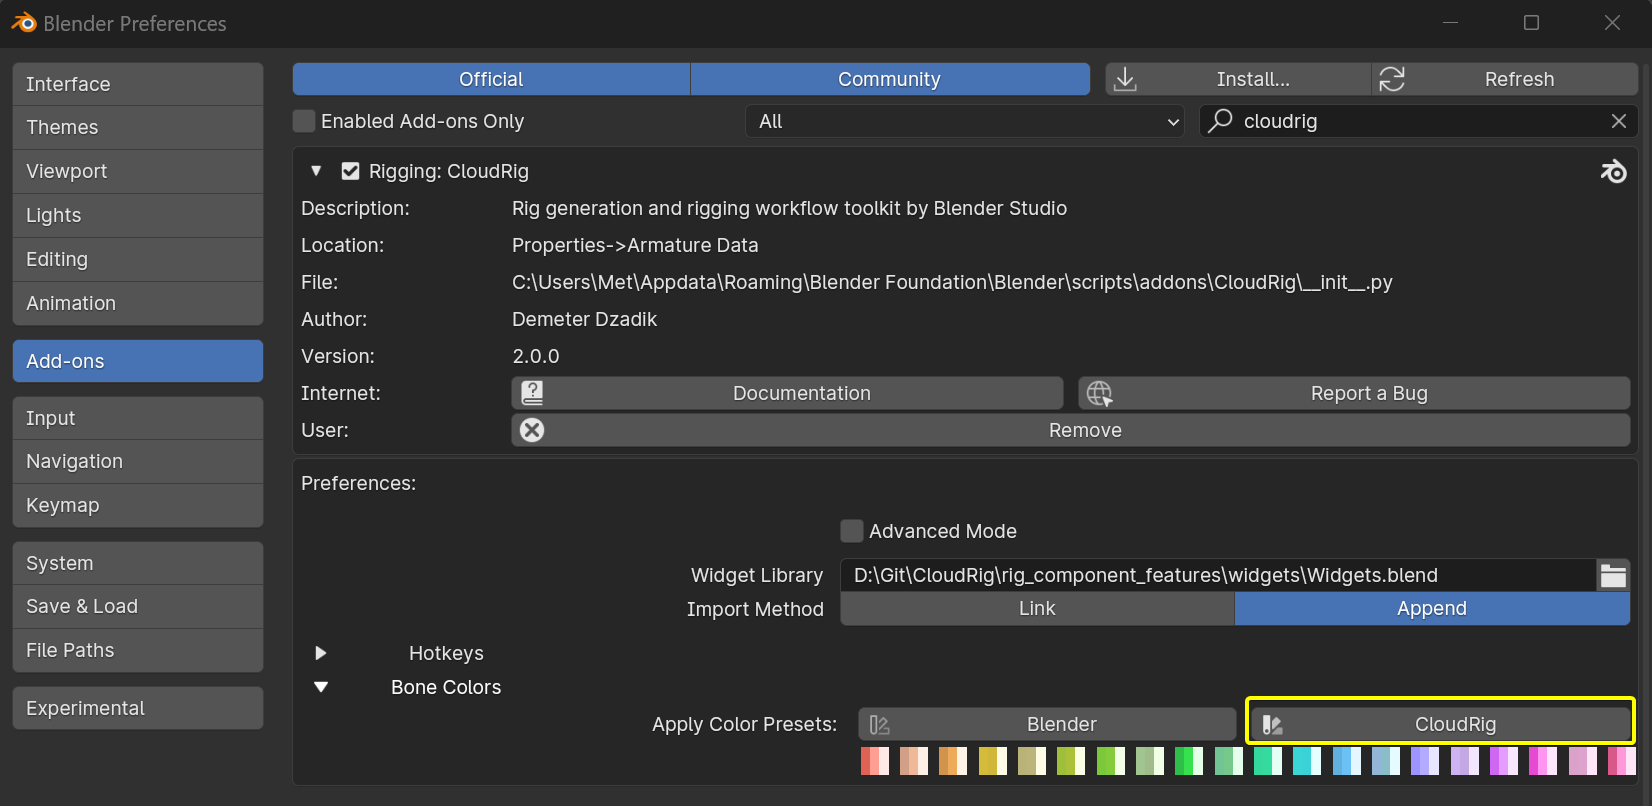
Protected Collections
You also have the ability to organize collections as you would with a normal armature, except you need to let CloudRig know which collections you don't want to be touched by the generation process. To do that, you first need to enable the collection authoring UI:
Then you can create your collections and assign bones as you would on any armature. Then you need to mark the collection as protected, using the shield icon. These collection, and which bones are assigned to them, will be fully preserved when you regenerate the rig.
Note that this does not mean that you can now create arbitrary bones on the generated rig and expect them to stick around. For that, you still need to add bones in the metarig.
Selection Sets
Instead of having to use multiple systems to organize your bones, CloudRig implements all the features of SelectionSets. To start, you can easily convert your selection sets to collections:
- Enable collection authoring UI on the generated rig, as mentioned above.
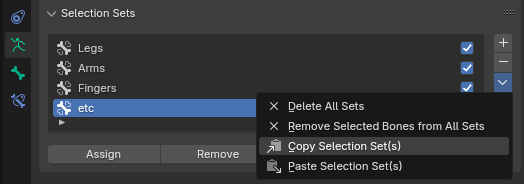
- Copy Selection Sets to clipboard as you normally would:
- Paste Selection Sets as Collections on the generated rig via CloudRig:
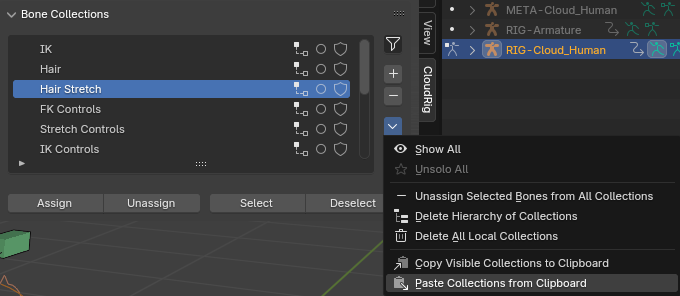
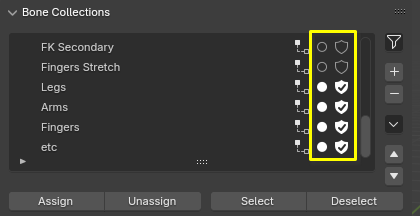
- Your selection sets are pasted. The filled circle indicates that they were marked for Quick Access, and the shield indicates that they will be preserved when the rig is re-generated.
Quick Select
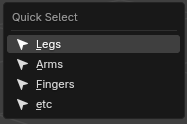
Collections marked with the circle will be included in the Quick Select menu, which is bound to Shift Alt Q by default:
Bone Display Size
You might often encounter that the sizes of the bone shapes are too big or too small for some parts of your character. This can result in an eye sore, or worse, important controls only being visible with Bone X-Ray. For this reason, all CloudRig components' bone shapes will scale according to the BBone scale of the bone in the metarig. You can find the Display Size X/Z properties in the Bendy Bone panel of the Properties Editor, or use the well-hidden Bone Envelope tool in the toolbar to change the bone size. In both cases, your armature's bone display type needs to be set to BBone. This will not affect any behaviour on the rig, it's purely for visual aid.
Here I increase the BBone scale, then re-generate the rig, to make sure the FK controls are bigger than the mesh.