GeoNode Shape Keys
GeoNode Shape Keys is a Blender Extension that lets you deform linked and overridden meshes using sculpt mode, for example to make small corrections to an animated character.
Installation
You can install directly from within Blender, by searching for GeoNode ShapeKeys inside the "Get Extensions" panel.
How to use
The add-on's UI is only visible on linked and overridden meshes.
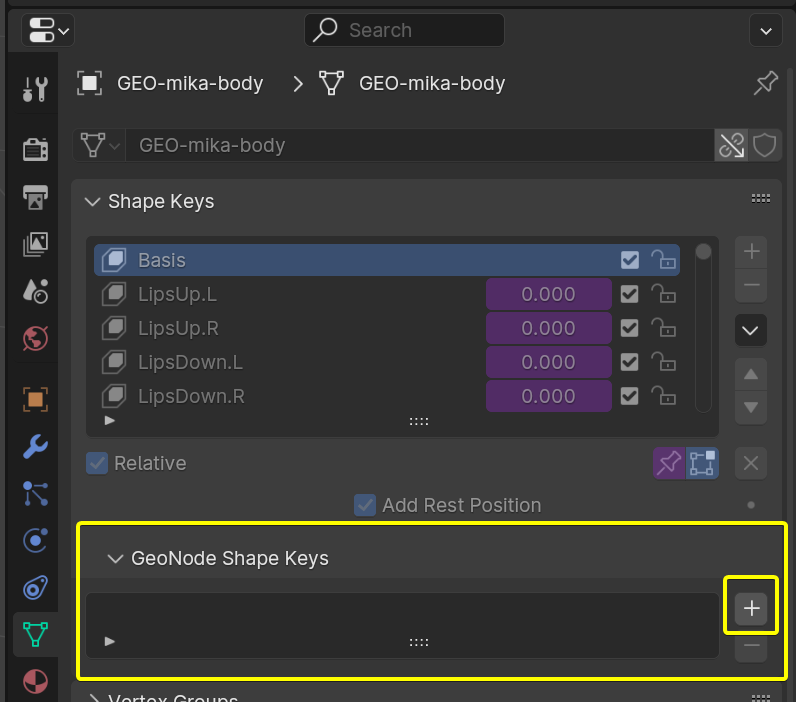
It can be found under Properties->Object Data->Shape Keys->GeoNode Shape Keys:

You can then hit the Add button.
- You are prompted for a UVMap, which should not have any overlapping areas within the object.
- You can also give this shape a name. By default it will be named after the current frame number.
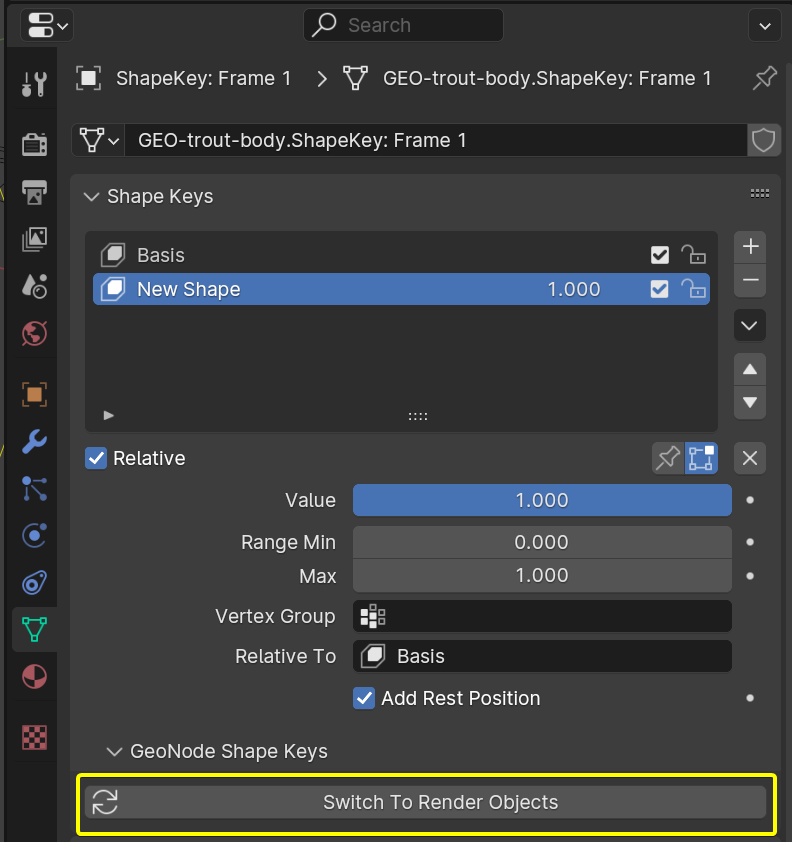
Once you press OK, you can start sculpting! You're not actually sculpting on your original mesh. A duplicate has been created for you, and the original was hidden. You can switch back to the original using this button:

Removing a GeoNode ShapeKey entry will also remove the relevant modifier and object. Don't remove those in any other way.
Here is a workflow example video showing all of the above steps:
Why a UV Map?
If your mesh doesn't have any overlapping in its UVs, you can just use that. Otherwise however, you should create a separate UVMap for use with this add-on. The UVMap is used by the GeoNodes set-up to match the vertices of the real object with the local copy that you sculpt on.
Multi-object sculpting
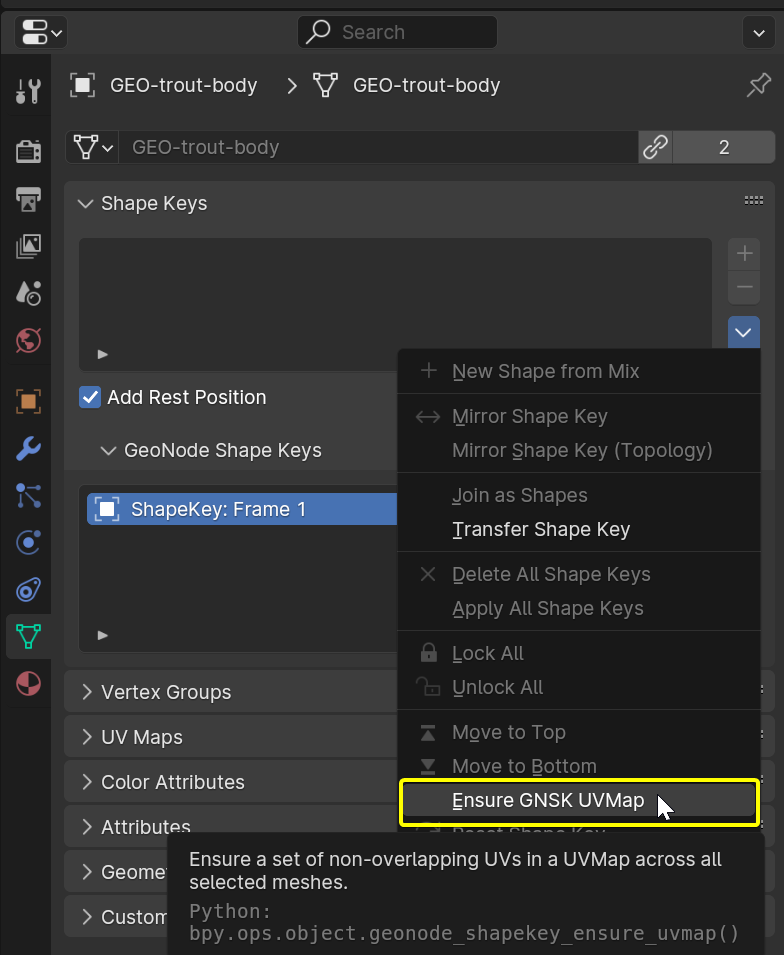
The add-on also allows selecting multiple objects before pressing the + button. In this case, the sculpt object will have all your previously selected objects. The principle that the sculpt object shouldn't have any overlapping UVs still stands. An operator is provided to easily create UVMaps across all of your asset's objects without any overlaps, for use with this add-on. You can find this here:
