SVN Setup
Install/Setup SVN
The Blender Studio Pipeline relies on SVN to version control all .blend files used in production. This guide will show you how to install SVN on a workstation, assuming you already have an SVN server set up. To learn more about how to set up an SVN server, visit the SVN Documentation.
Linux/Mac
- Install the SVN client on your system via the SVN Documentation.
- Use the following command to check out the current SVN repository into the SVN directory:
bash
svn checkout http://your_svn.url ~/data/your_project_name/svnWindows
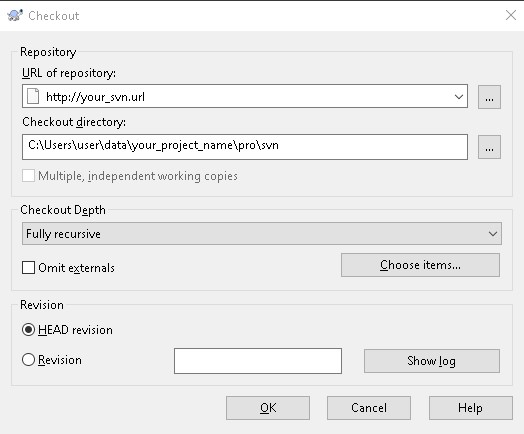
- Download and install the TortoiseSVN Client.
- Navigate to your project's root directory. Right-click, select the
svnfolder, and chooseSVN Checkout. - Enter the URL to check out under
URL of repository. - Select OK to begin checking out the repository.
Committing Changes to the Repository
Linux/Mac
To commit changes to SVN, use the following command. For more details, see the SVN Documentation:
bash
svn commit -m "My Descriptive Log Message"Windows
To commit changes from the TortoiseSVN client, follow the steps below. For more information, see the TortoiseSVN Documentation:
- Navigate to your project's root directory.
- Right-click, select the
svnfolder, and chooseSVN Commit. - Enter your commit message in the box labeled
Message. - Review the files that have changed in the box labeled
Changes made.
Note
For more details on how to set up an SVN repository, please see the official SVN Documentation and the TortoiseSVN Documentation.