Blender Studio
  • Films
  • Projects
  • Training
  • Characters
  • Tools
  • Blog
  • Join
  • BLENDER.ORG

    • Download

      Get the latest Blender, older versions, or experimental builds.

    • What's New

      Stay up-to-date with the new features in the latest Blender releases.

    LEARNING & RESOURCES

    • Blender Studio

      Access production assets and knowledge from the open movies.

    • Manual

      Documentation on the usage and features in Blender.

    DEVELOPMENT

    • Developers Blog

      Latest development updates, by Blender developers.

    • Documentation

      Guidelines, release notes and development docs.

    • Benchmark

      A platform to collect and share results of the Blender Benchmark.

    • Blender Conference

      The yearly event that brings the community together.

    DONATE

    • Development Fund

      Support core development with a monthly contribution.

    • One-time Donations

      Perform a single donation with more payment options available.

Training Highlights
Stylized Rendering with Brushstrokes
Geometry Nodes from Scratch
Procedural Shading Fundamentals
Stylized Character Workflow

Training types
Course Documentation Production Lesson Workshop

Training categories
Animation Geometry Nodes Lighting Rendering Rigging Shading
Film Highlights
Wing It!
2023
Charge
2022
Sprite Fright
2021
Spring
2019
Project Highlights
Project DogWalk
Interactive
Gold
Showcase
BCON24 Identity
Showcase
Fighting with Grease Pencil
Article
Course
Game Asset Creation
Intro
  1. 01

    Introduction

Section 1 - Understanding the Interface
  1. 01

    Chapter 01 - First Encounters

    Free
  2. 02

    Chapter 02 - Navigation

    Free
  3. 03

    Chapter 03 - Layout Customizing

    Free
  4. 04

    Chapter 04 - User Preference Changes

    Free
Section 2 - Navigation
  1. 01

    Chapter 01 - Menus, Modes and Display

    Free
  2. 02

    Chapter 02 - Navigation

    Free
  3. 03

    Chapter 03 - Layers and Snapping

    Free
Section 3 - Modeling
  1. 01

    Chapter 01 - Mesh Data, Object Data

  2. 02

    Chapter 02 - Object Tools

  3. 03

    Chapter 03 - Mesh Tools - Extrude

  4. 04

    Chapter 04 - Mesh Tools - Bevel

  5. 05

    Chapter 05 - Mesh Tools - Subdivide

  6. 06

    Chapter 06 - Mesh Tools - Working With Loops

  7. 07

    Chapter 07 - Mesh Tools - Vertex Connect

  8. 08

    Chapter 08 - Mesh Tools - Inset

  9. 09

    Chapter 09 - Mesh Tools - Merging

  10. 10

    Chapter 10 - Mesh Tools - Knife Tool

Section 4 - Modeling a Game Asset
  1. 01

    Chapter 01 - Ref Images & Traffic Cone Blockout

  2. 02

    Chapter 02 - Traffic Cone Modeling

  3. 03

    Chapter 03 - Normal Editing - Smooth/Hard Edges

  4. 04

    Chapter 04 - High Res Traffic Cone

  5. 05

    Chapter 05 - Camera Modeling

  6. 06

    Chapter 06 - Modeling With Curves

  7. 07

    Chapter 07 - Finishing The Camera Model

  8. 08

    Chapter 08 - Removing NGons

  9. 09

    Chapter 09 - Hi Res Lens And Ribbed Cable

  10. 10

    Chapter 10 - Organizing And Naming Objects

Section 5 - UVs
  1. 01

    Chapter 01 - UVs Overview

    Free
  2. 02

    Chapter 02 - Mirror Modifier

  3. 03

    Chapter 03 - UV Unwrapping The Base

  4. 04

    Chapter 04 - UV Unwrapping The Cable

  5. 05

    Chapter 05 - UV Unwrapping The Cone

  6. 06

    Chapter 06 - UV Final Layout

Section 6 - Baking
  1. 01

    Chapter 01 - Baking Setup And Creating Images

  2. 02

    Chapter 02 - Baking Ambient Occlusion

  3. 03

    Chapter 03 - Baking Normal Maps

  4. 04

    Chapter 04 - Creating The Base Color Materials

  5. 05

    Chapter 05 - Baking The Base Color

  6. 06

    Chapter 06 - Setting Up A Complete Material

  7. 07

    Chapter 07 - Cord Baking And Multiple UV Sets

  8. 08

    Chapter 08 - Baking The Camera Lens

Section 7 - 3D Painting
  1. 01

    Chapter 01 - 3D Painting Setup

  2. 02

    Chapter 02 - Painting A Vertical Gradient

  3. 03

    Chapter 03 - Multi Layered Painting

  4. 04

    Chapter 04 - Worn Edges With Cavity Masking

  5. 05

    Chapter 05 - Baking All Layers Down To 1

Section 8 - Importing and Exporting
  1. 01

    Chapter 01 - Importing A TF2 Character

  2. 02

    Chapter 02 - Rigging And Placing The Asset

  3. 03

    Chapter 03 - LOD Creation

  4. 04

    Chapter 04 - Exporting As OBJ

  5. 05

    Chapter 05 - Importing Into Team Fortress 2

Assets
  1. Attribution & Links
  2. ConeCamHat.obj
  3. ConeCamHat_LOD.obj
Images And Textures
  1. Ref - camera-712122_1920-color.jpg
  2. Ref - caution-389408_1920-color.jpg
Blend Files
  1. Asset 01 - Modeling
  2. Asset 02 - UVing
  3. Asset 03 - Baking
  4. Asset 04 - Texturing
  5. Asset 05 - Exporting And Importing
  6. Camera Fly Example Geometry

Login to view this content

Join Blender Studio for just €11.50/month and get instant access to all of our training and film assets!

Login Join Blender Studio
Francesco Siddi
Francesco Siddi Author
License CC-BY
Report Problem
Section 6 - Baking

Chapter 07 - Cord Baking And Multiple UV Sets

More high resolution baking and dealing with multiple UV sets.

Join to leave a comment.

10 comments
tankcrusher210
tankcrusher210
Oct. 17th, 2018

@Aidy_Burrows: I'm having trouble getting my normal image to bake and display like yours. I'm getting hot pink and blue on my inclined faces instead of teal and purple. It doesn't function properly as a normal map.

I'm using Cycles and material nodes because trying to learn on two different UIs at once (Cycles and Blender) is too confusing. The nodes I've set up to handle the normal mapping are as follows:

Attribute (to specify the UV that I want) -> Image Texture [non-color data] -> Normal Map -> Diffuse BSDF -> Material Output.

Any ideas on what might be causing this, or where I should start troubleshooting?

Nick Sandow
Nick Sandow
Oct. 23rd, 2017

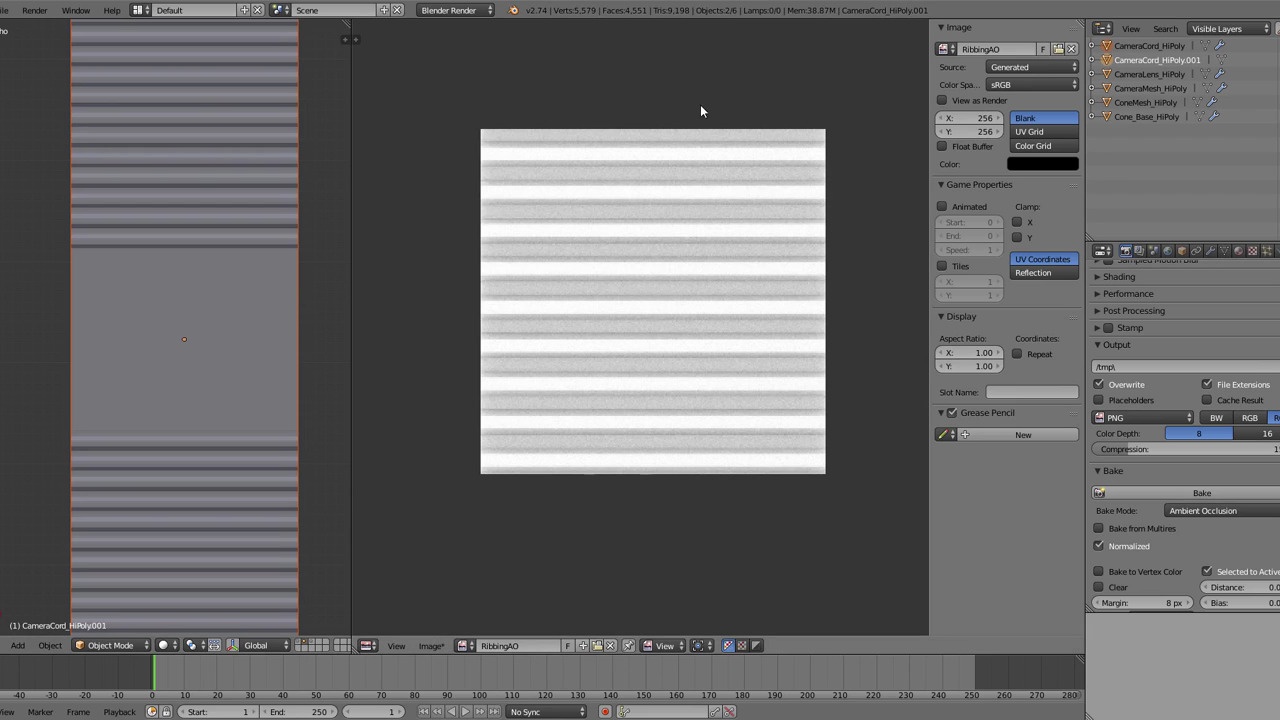
When I bake the AO for the cord ribbing (the first bake step in this video) it takes a good 15 seconds or so to complete, and this is on a pretty recent desktop machine. In contrast it seems to be pretty quick in the video. I'm curious if the video is edited to skip the bake time here? No biggie but would be interesting to know if there's something that can speed it up.

Aidy Burrows
Aidy Burrows
Oct. 23rd, 2017

@Nick Sandow: Hi! Yes that part of the video cuts, however it seems to me having just checked an AO bake just now using Blender Render on a much more powerful machine that it's a bit slower than it used to be! Cycles AO baking on the other hand, zips through it pretty fast.

It's worth noting this seems to only be AO that is quite sluggish within Blender Render the other ones such as Normal still bake at about the speed i'd expect.

Thanks for the heads up, perhaps this is an optimizing bug of some kind.

Aidy.

Matthew Bartlett
Matthew Bartlett
Aug. 6th, 2017

Hi Aidy, I've been following this guide well till now but I am getting something strange happen when trying to bake the AO for the ribbing.

It might just be something I have forgotten from the previous vids.

When I select the blank plane that is created and the ribbing underneath with the plane active and then click bake, the image changes from the RibbingAO one to the BaseColour texture we created earlier in 05. It then proceeds to bake over the top of this image. I don't seem to be able to get it to use the RibbingAO at all as it always switches no matter what I do.

Any help appreciated, many thanks.

SOLUTION Okay, found the problem myself as I went back through the whole video. The initial unwrap occurred on the BaseColour image. When I created the RibbingAO image I needed to unwrap again on this image for it to take effect.

Aidy Burrows
Aidy Burrows
Aug. 6th, 2017

@mabartlett: Ah yes this can be confusing, Blender has something it calls 'texfaces', uv's that make up a face in the uv editor can have an image 'assigned' to them a 'texface' to help with unwrapping. It is also this image that gets baked to as you have discovered!

Rather than needing to unwrap again, you should be able to just select those faces that keep switching and then in the uv editor select the image you want to bake to from the pulldown menu.

There is an example of this in the section that happens at 4 mins 08 seconds of this video. :)

Hope that makes sense! :D

Aidy

Show more replies
Matthew Bartlett
Matthew Bartlett
Aug. 6th, 2017

@Aidy_Burrows: Thanks for explaining, at least I'm not mad. I did try reselecting the image from the dropdown in the UV editor as I had done that before but it did not work without the unwrap.

Colin Gradwell
Colin Gradwell
June 21st, 2017

Hi Aidy. Going well so far...but when I try and add the various textures to the material I don't seem to get any impact from the AO textures for the cone & base or the cord. They seem to be in the right position and are set to 'multiply' in blend and are in the correct position on the texture stack and are set to 'AO' in the influence section of the materials properties....any suggestions?

Aidy Burrows
Aidy Burrows
June 22nd, 2017

@colingradwellqd: Hi!

Glad you're navigating your way through it well! I realize now that I have a very dark color for the cord and when multiplying the AO here it is barely going to have an effect which is why i opted for the lighter color at the end. :D

That is a slight aside to your problem though of course, but rewatching it now that's the first thing that sprung to mind! :D

For your issue, can you send a screenshot please? If I can't guess what it is, possibly send the blend file over too, and i'll take a look. :)

Aidy.

Marcel Fitzner
Marcel Fitzner
Feb. 24th, 2016

Since I have twisted my cord in a different way, there are spots on the cord where the ribbing is stretched far apart and spots (e.g. on a sharp curve of the cord) where the ribbing is extremely compressed.

Is there a way in Blender to perform a mapping so that the ribbing is equally along the cord?

Aidy Burrows
Aidy Burrows
Nov. 5th, 2016

@ShadowGames: The distribution of the uvs were created using the follow active quad and 'length average' mode, try some different selected active faces for which to base the overall distribution of uvs off of. Though with very extreme angles it's not really possible to get perfect results.

Hope that helps! :) Aidy.

Films Projects Training Blog Blender Studio for Teams
Pipeline and Tools
  • CloudRig
  • Blender Kitsu
  • Brushstroke Tools Add-on
  • Blender Studio Extensions
Characters
  • Mikassa
  • Whale
  • Ballan Wrasse
  • Snow
Studio
  • Terms & Conditions
  • Privacy Policy
  • Contact
  • Remixing Music
Blender Studio

The creators who share.

Artistic freedom starts with Blender The Free and Open Source 3D Creation Suite