Login to view this content
Join Blender Studio for just €11.50/month and get instant access to all of our training and film assets!

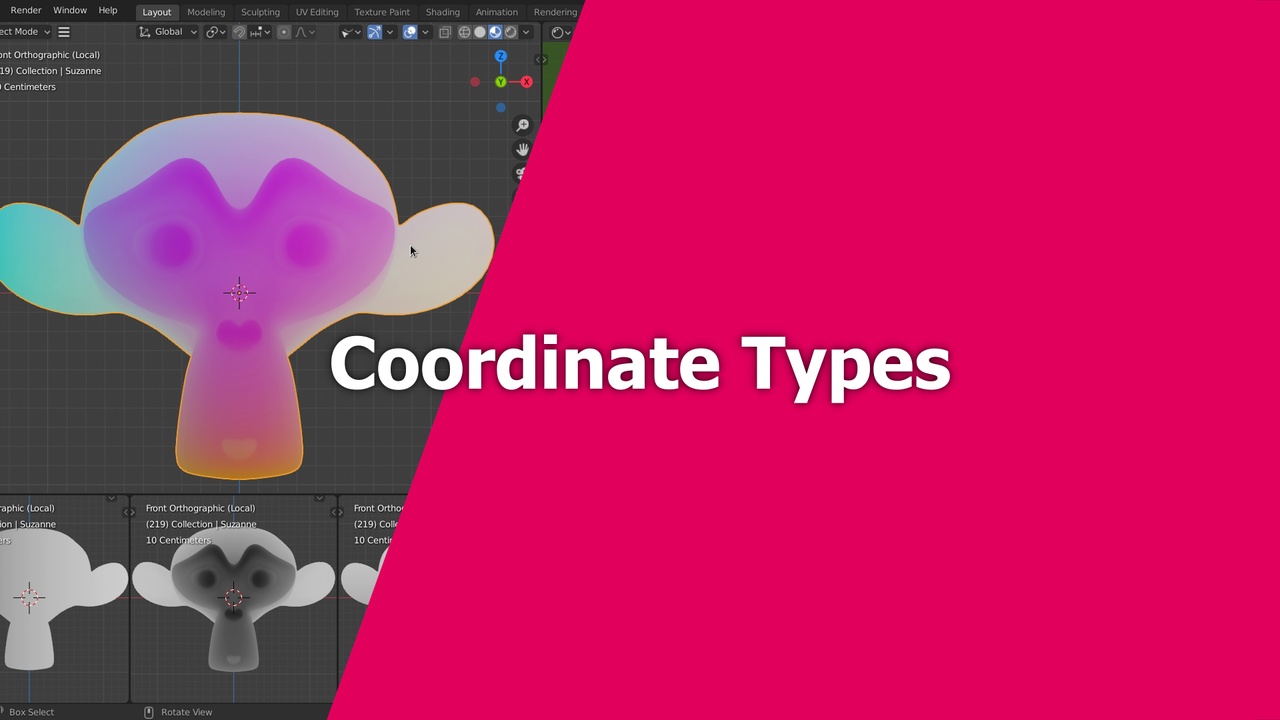
Coordinate Types
Get the visualization file here:
25 comments

i found this quite informative. Transcripts of these and your Geometry Nodes lessons would be helpful for review-
@De Etta L Ewing Yes, the drawback of presenting this in video for is that it is less easy to look something up quickly. I tried to organize these lessons well and make them as short and concise as possible to allow rewatching specific parts easily for that reason.
Your efforts paid off. I have re-watched several already, second time around the know how fell into place-thx!

Thanks, it is very helpful.
I am new to these concepts. I rewatch it multiple times and discuss it with friends, finally understand it. It might be helpful when talking about Generated / Normal / Object, choose some points to talk about the output. So that we can know the value range, and how these numbers calculated.
So, Generate value range [0,1], normal value range [-1, 1], Object value range [-∞, +∞] which based on vertices position.
When I search about nodes color: "Yellow is a tuple containing 3 values; the red, green, and blue channels of a color. Purple is a tuple containing 3 values. Used for vector/coordinate information."
And I notice I can use Separate GRB, Separate XYZ interchangeable.
My question is: Is the value range is the only difference between Yellow and Purple nodes? The yellow node for color range is [0,1], purple node when in Object can be [-∞, +∞]
@Min Li This question is related to chapter 1-1 where I talk about the difference of vectors and colors. I short, Blender nodes don't make an intrinsic distinction between colors and vectors as objects. The difference is only important once they are being interpreted. In that sense, yes, the difference is their range. But the sockets and nodes can usually be used interchangeably between colors and vectors.
@Simon Thommes Thank you ~

Nice

can we say that the camera projects three dimensions as two with, viewport display being coordinated of that 2. z being anything in the bottom left, y upwards, and x towards right?

I wanted to know the difference between generated and Object coordinates. You said Generated is tied to the mesh and object coordinates is tied to the Object, but my mind is not albe to go deeper
*@Abhirama Gopala Dasa* The mesh and pbject are separate things. Basically the object is what you can edit in object mode with location, rotation and scale. And the mesh is what you edit in edit mode with all the individual vertices.
Generated coordinates stretch along the mesh, no matter what the object scale is. And object coordinates are linked to the object transformation, no matter what the contained mesh is. I hope this helps.

Hi Simon, can you tell me why the suzanne in my viewport doesn't have colors like you? I'm using the files you provide in the Files and Tools folder
https://drive.google.com/file/d/1oqE2xJh1yqBld_0flQD4Qc_epzntEGgl/view?usp=sharing
Well i think i got it, i notice that the node group is used by 4 objects. So i just view the suzannes each in local view. Is this correct?
*@victor p* Yes, that's correct. If you just used the file from this video though, it should just work.

@Simon Thommes I'm still trying to figure out why each local view displays differently. I see that they are all separate objects, parented to the main suzanne, and that each child has a different material. I can't actually change the material in my shader editor for some reason to see what's going on. Why does local view affect the material display? ... ohhh... cause they're in the same location. Heh. So then why can't I select a different mat in the shader? Everytthing is greyed out.
Edit: Got it. For some reason I couldn't pick a different mat in the shader editor in Layout workspace. Switching to Shading workspace fixed it. Seems like a bug? Anyway, now I see what I'm looking at—separate channels. I couldn't read the material setup in the Material Properties as well as reading the nodes.
Edit again: I discovered it's the Pinned feature that prevents changing a material. Learning a lot about shading/editor already!
@Tighe Racicot Yep, you figured it all out! :D Sorry that I didn't explain this in the video, but I wanted to focus on the subject matter itself and use the file only as a tool for showcasing.
@Simon Thommes No problem. Totally understand. I like to really experiment, question, and break my (limited) understanding of things, so I had to dig a little deeper.
*@Simon Thommes* Thank you

Hello,
Can you explain why we use UV instead of Generated in the Example 4 please?
(Sorry I commented in the wrong video while I was looking back at this video).
*@Huân Lê-Vương* You're right, I could have used generated coordinates as well. The reason I didn't is mainly that for a plane the Z-component is irrelevant and with generated coordinates gives redundant and sometimes problematic information. Also for the orientation of an actual pattern like this it is usually nice to be able to manually define its proportions. For example, if the room was not a perfect square, generated coordinates would result in stretching, while the UVs can easily be adjusted.
*@Simon Thommes* thanks! that makes sense

This video really hits it out of the stadium in the usefulness dimension -- I've waited like 10 years to find anything like it! Thanks so much : )
hello, how do you make a viewer to see a specific "color" like those 3 at the bottom?
(i think i know how now)
*@Huân Lê-Vương* I am using a hack by using separate parented objects with separate shaders that are using the same nodegroup and then going into local view for the individual views.
Join to leave a comment.