Login to view this content
Join Blender Studio for just €11.50/month and get instant access to all of our training and film assets!

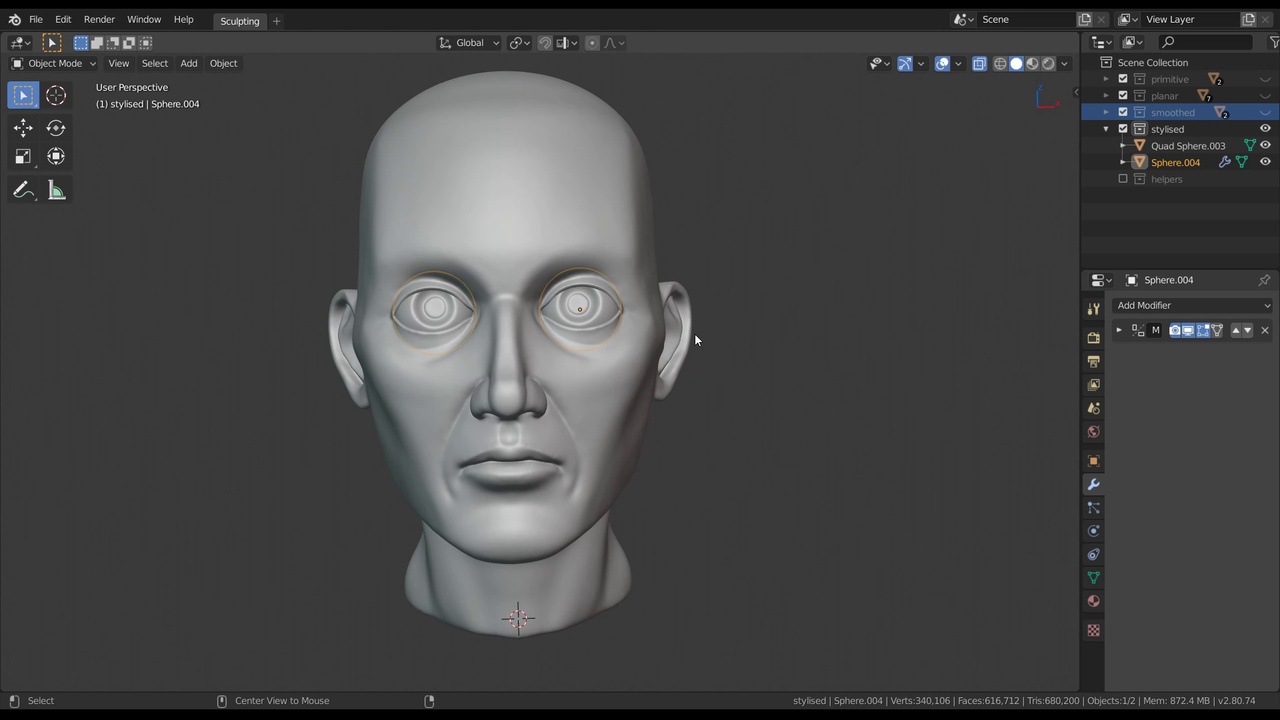
Smoothing the Planar Head
After having completed the basic planar head, it's time to add more definition and smooth the sculpt to something far more natural looking.
Other helpful links:
- File 1: Head Sculpting Lessons: The collections of final head sculpts that are shown in the video
General Links
82 comments

Hi Julian i am struggling with a problem that only happens after i join my objects. (i used the Crt+J method)https://drive.google.com/file/d/1cKVpe3V8vr7fR6JTY_tfYD3fFr9OWzi7/view?usp=sharingas you can see, the brush isn't mirrored to the center of the face, it's slightly off, it makes it hard to smooth everything out, before i join all the objects it's perfectly symmetrical;https://drive.google.com/file/d/1Jm-jhS22rpw87dBeUDRS6sWHGZTp0ofV/view?usp=sharing, How do i get it to be like this again.
Also if you have any advice on how my model is coming along it would be appreciated (i'm making a girl)https://drive.google.com/file/d/1po5JXK0pJ-Iiy-xjb5REQHmlDZIcm6CL/view?usp=sharing thank you!
@Sky When you join objects it doesn't just merge them into a new object. Instead all selected objects are joining the actively selected object (bright orange outline).So you have to make sure that the active object is actually symmetrical. Or rather that the object has its origin point and rotation centered. You can fix this before/after by using Ctrl A to apply the location and rotation. If you've already had your objects in the world center then this will work. If it didn't, you likely need to reset transforms on your objects before joining them, so that everthing is actually symmetrical.
@Julien Kaspar you’re a genius thank you! I had my item selection order wrong!

I dont have the circle mask where can i find ?
@Taif Almamari There is none unfortunately. You can use the mask brush. If you want a perfect circle I recommend to change the Stroke Method to 'Anchored' and then click and drag to create a perfect circle. The 'Hardness' brush setting can be used to make the falloff of the circle more sharp ;)

It came along well enough.

https://drive.google.com/drive/folders/1x1G0ntGhrLbOopBtNFM97kU1n8K56ODh?usp=sharing%C2%A0 I know that some shapes might be too bold or abstract, but it is a conscious decision and I want the look it gives, I found the talk that Hjalti gave very helpful in finding my own sweet spot. still i'd appreciate any critiques :)

When I use Ctrl J instead of Boolean, I can not smooth merge objects edges together. How to solve this problem? Ok I answer myself after Ctrl J I forgot to press Ctrl R to remesh objects into one.

Probably a silly question but... how are you all adding your screenshots here?
@Peter Klassen The comments are using Markdown, so any images can be embedded here. But I can also just recommend to share a link ;)
@Julien Kaspar Ok, thanks!

hey Julien ! i had a little problem if you could help please .. i used boolean modifier on all the meshes and i smoothed the hard edges just fine except for the neck . i had some weird clipping in the edges and some weird geometry inside the sculpt idk what caused it andhow to slove it
@Asaka The easiest way to fix it would be by using the voxel remesher. Define a detail size with Shift R and then press Ctrl R to remesh. This would remove any weird issues the boolean modifier caused.
@Julien Kaspar yeah that actually fixed the problem , thanks !

ok, let's move on.

hi I used voxel remesher but It still not smooth.Am I suppose to shade smooth it or not and what should I do to make it clean.After smoothing the face, there are some triangles . @Julien Kaspar
@Elie Helou Can you send some images or even the .blend file as an example. Not sure what the issue might be.
@Julien Kaspar It is okay I have figured it

pls advice how can i share my jpg file here
@tuhina ranjan You can ideally link it from another source, like a cloud (google drive for example)
and also after i have applied boolean, blender has become very slow? just wondering what could be the reason. Pls Help.
@tuhina ranjan My direct advice would be to not use the boolean modifier for sculpting anymore. Try to join the objects (Ctrl J) and use the voxel remesher (Ctrl R) and choose a good resolution (Shift + R)
@Julien Kaspar great!
hi again,still working on the head. i have applied boolean modifier to nose, eye lids and neck, till that level it worked, but the moment i apply boolean to ears while the head selected , the head disappears.

Hey Julien, how are you? Only after a while polishing and detailing my sculpt, I found out I don't have a balanced Dynotopo mesh (some places have more poligons than others), which is giving me some troubles when I want to smooth. How can I solve it, without loosing a lot of detail?

I couldnt follow this at all.
hi, i can't merge the eyelips to the head.Please help
@Elie Helou If you ahve issues with the boolean modifier look at this video. But I recommend to instead join the objects with Ctrl + J and then remesh them. It's the easiest workflow.
@Elie Helou yea thank you it worked

Here's where I'm at. Starting too stylize a tiny bit but I'm afraid to push it further!

I accidentally merged the eye and the rest of the face, did a lot of steps then realised, thus, cant undo it, What should I do? Also, Please suggest me on what changes should be done to my sculpt?


Hi @Julien I have a problem when I merge everything with the head, that place near the ear won't get smooth even if I'm using Dyntopo Relative Detail Also, my computer gets slower hen I use it even if I have 16G of RAM and an RTX 2060


*@arjdalmoncef* If you merged it with the boolean modifier there could be some issues that snuck in. It could also be that you are sculpting on the front side and the back side of the eyelids at the same time without noticing.
Either way, the best way tio fix this or find out what the issue is is to use the voxel remesher with a high detail size. If the eyelids are too thin for that try to increase the thickness inside the eye socket first.
When remeshing it will lose some of the sculpted detail but that is ok.
This is not meant to go too much into detail yet anyway.
*@Julien Kaspar* I will try this, Thanks a lot.

Hi, my pc starts to get slow with these high poly count. Have 32gb ram, rtx 1070..
*@romaingierenz* Try disabling dyntopo on high poly counts.

I merged all the meshes with the boolean modifier but after that blender didn't work properly anymore. It now takes me 10 seconds to do 1 thing. I'm using a laptop with 16gb RAM so I don't know why it takes so much time to make small adjustments. X-symmetry also doesn't work properly anymore. If I change something on the right side of the face, it doesn't change on the left side of the face (and X-symmetry was on I checked it).
*@Van Aken Tom* It could be that you didn't apply the boolean modifiers yet?
Try joining the obejcts and using the voxel remesher instead of the boolean modifier. It will be much faster in every way.
Hi, how can I smooth the area around the mouth. I tried to smooth it, but the bumps stay. Flatten makes it too flat, and when I try to add polygons with brushes, it stays bumpy... Thanks https://ibb.co/42C21NC
*@romaingierenz* My tip in general for dyntopo is to first sculpt over an area with another brush first to remesh the surface and then smooth it afterwards.
If you enable the wireframe overlay you will see how uneven the resolution on the mouth is. Dyntopo tends to make surfaces messy, there's no way around it.
And the smooth brush is not actually remeshing surfaces with dyntopo, so it can't fix those bumps by itself.
Alternatively use the Simplify brush and increase the Autosmooth slider. This way the brush will smooth and remesh surfaces at the same time.


*@anasof.persa* I can recommend to mostly use the remesher for early sculpting. Dyntopo has it's advantages but is causing a lot more issues in performance and bad mesh structure.
On the sculpt:
- The eyes seem to be very far apart and wall-eyed. I can always recommend to rotate the eyeballs so that it looks like the character is looking at someone in front of him by rotating them inwards. It gives the impression that he is looking at you instead of into the distance or at nothing at all.
- The ears are drifting far too much into the back of the head and upwards. This is the most common mistake I see people make.
Look at the distance between the ears, eyes and jaw corner for reference
*@Julien Kaspar*

*@anasof.persa* Looks better. He still seems to look off into the distance and towards the ground.

I really liked my result after a few trial and error but always ended up with an astronomical polycount, my pc can handle it starts to get a little slow when switching modes.{attachment Invalid slug 2020-07-21 - should be a static_asset id}

*@kyugak.pm* You don't need to get that high during the voxel remesh sculpting.
I want to add another video soon-ish about detailing the sculpt further with multiresolution modifier sculpting since this would solve all your problems with performance, density and switching between modes.
The voxel remesher and dyntopo were never really meant for high detail sculpting anyway.
For now just try to keep it as low and simple as possible.

My result :)


Hi Julien, I have a problem with smoothing the head. I hope you can help me. Every time I add the ears, neck, eye lids and nose to the head with the boolean modifiers, the part where the lower eye lid should connect to the head is filled with small holes. I tried to connect the vertices in the edit mode, but this does not work. After that I tried the "Make Manifold option" from the 3D-Print addon, but this does not work either. After a few hours of trying I am hoping now that you can help me solve that problem. Thank you in advance!
*@Cosimo* This video can help: https://cloud.blender.org/p/stylized-character-workflow/5d3a1d3afa5e1feb5a307840
Otherwise I can recommend to just use the voxel remesher (Ctrl + R) which would fix any issues you have.
*@Julien Kaspar* Thank you very much, the Bonus Video was very helpful and helped me solving the problem!

Super course! I struggle a little bit in the boolean part, but finally make it work with the bonus video. Also struggle a little bit with yes lips/occular globe junction. the two volume before boolean were to close then created bad topologies.

Hi Julien, how are you?
Dude, I don’t know what I did, but when I turn on the function Dyntopo with Relative Detail I can’t make the small details because Blender becomes heavy, and I have a good machine, but I can't work with Blender.
Where could the problem be?

*@fabio1* Dyntopo unfortunately runs very slow on high poly-counts. There are also various other performance issues. As of right now I can recommend to use the voxel remesher instead most of the time (Ctrl + R to remesh & Shift + R to adjust the detail level).
It's faster, more performance efficient and inherently works with all the new Tools in Blender.

do I need to sculpt in the eyes or can I just vertex paint them??
*@ammar mohammed* You can just vertex paint them if you want.

Hello to everyone and thanks Juilen for these great tutorials. This is my head so far, but I'm having some problems with the eyes when applying the boolean modifier, any advice? I'm working with 2.82a on linux. Thanks!

*@Víctor Meis* I can recommend not to merge the eyes with anything else since they are meant as separate objects. Merging the nose, ears and eyelids with the rest of the head makes sense since they need to seamlessly blend together ;)


*@Artur Machura* I'm planning on making a video on how to keep control over the resolution of your sculpt. It's definitely one of the most asked about things.
*@Julien Kaspar* That would be awesome. For now, I am trying different workflows. I've watched your speed sculpting from last year BC. You showed the simplify brush. That is an amazing tool.
No pressure from me, you are now probably very busy with settlers.
Hi Julien. Thank you for this training and quick sculpting introduction. I have got to merging nose and ears with main head model. First I tried with boolean but it didn't do a great job. Lot of artifacts and small missing faces. So I tried with ctrl J and and remesher but to preserve ears, lips and nose details I have to go quite low with voxel size and than model is very slow and hard to do any work I am thinking to redo beginning (anyway good sculpting excercisl) and join nose and ears much ealier steage. Whats is your advice? Do you think is worth to ues 2.83 test builds for this training?
*@Artur Machura* Yes I can recommend to join the separate objects before going into too much detailing. If you want to go very high in resolution to detail the sculpt then it's best to use the quad remesher or do a manual rough retopology and then continue sculpting with the multiresolution modifier. I'll get a little bit more into that on chapter 3.
I think using the latest builds will give you the best tools but that might not help a lot since I didn't use them for this course.
At the very least I can recommend to use the latest full release of Blender (in this case 2.82a)
*@Julien Kaspar* Thank you Julien

At 6:13, when you subdivide the eyes: when I do that, Blender just freezes or chashes! Any ideas why that might be happening?
*@Chris Fortier* Probably a bug. Try an olderBlender version, update your current one or commit a bug report so someone can fix it.

Every time I use a boolean set to Union (in this case for joining the eyes, nose, and ears), the inside of the mesh is not "cleaned out," and I still have overlapping inside. I understand that I can use voxel remeasure in sculpt mode, but I don't want to lose any detail I have. I did some research and watched your video on fixing common boolean errors but nothing seems to be working. Should I just use voxel remeasure, or is there anything else I can try?
*@bellasalvador1014* If you have faces inside the mesh I recommended a fix in the bonus video you watched: In edge select mode, select non-manifold edges and mark them as seams. Then in face select mode, select UV islands with L or Ctrl+ L and delete them. That should fix it most of the time.
*@Julien Kaspar* Just saw this. Thanks so much!!!! I found a workaround before I saw this, but this seems so much better.


Since I'm going for a dwarf look in the end, along with my concept I took some liberty in shaping the head. The ear was tricky, could still use some work
*@kerrkid101* Nice! I can recommend to look at the distance between the corner of the jaw and the ear. They are currently extremely far apart.

The ear was HARD!!! Still needs work but I'm leaving this one.
A lot better I think. Fixed the way deep eye sockets had to fill them out quit a bit.


i have a weird problem. I have a bubble on the inside of my mesh's lip. Looking at the normals, the bubble on the inside is blue (the rest of the inside is red). This happened after i went into relative mode and started adding details on the lips. This same problem happened to me the other day, and when i tried to smooth it out, it just got worse and worse.
*@tallaridaj* It's a new bug with the face sets. When a new mesh is added via object or edit mode there's a chance that it will be assigned a face set (in your case blue) but you will be unable to show or hide them.
It will be fixed very soon.
*@Julien Kaspar* i've been looking into it, i'm pretty sure i was just dealing with non-manifold geometry that got created when i upped the resolution for the lips. also along the boolean union with the ears it created a lot of non-manifold geometry.

from 0:23 to 0:24 the mesh you changed to smooth shading, or you increased subdivision?
*@tevtra* True. I skipped ahead a little bit but I can actually now recommend to stick with flat shading while sculpting for the most part.

Hi Julien, how did you do the eyes? I used mask tool, painted on the circle for the cornea, hit Ctrl-I to invert the mask. Then, when I tried to use grab to move it in, it grabbed just a small piece of the white part, but not the entire thing. How did you grab the entire part that's not masked?
*@Yang Qiu* I can only guess, sorry. Try increasing the brush radius? Maybe the mask was not strong enough? Maybe the Edge of the mask wasn't hard enough?
*@Julien Kaspar* Oh I got it to work! You're right, the brush was too small. I made it bigger than the eye ball on grab and it worked nicely.
Join to leave a comment.