Login to view this content
Join Blender Studio for just €11.50/month and get instant access to all of our training and film assets!

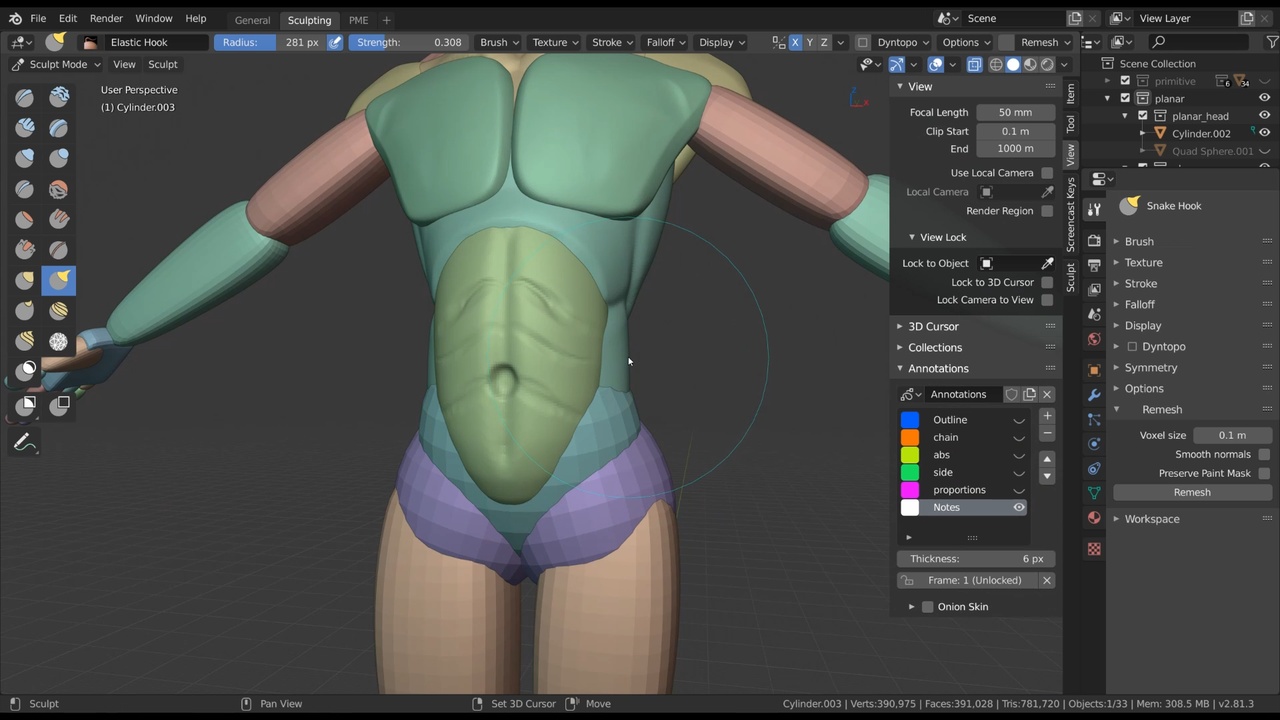
Sculpting the Planar Torso
For this lesson we will start to further sculpt and refine the primitive objects to get a planar torso sculpt.
Other links:
- Body Sculpting Lessons .blend file: The asset file that contains all of my shown body & clothing sculpts from the chapter 2 lessons. It also includes the Annotation lines shown in the videos.
General Links
26 comments

I like how similar this method is to drawing. All these cubes slowly turning into a thing. I use PRINT SCN and copy the viewport to PureRef on the more difficult parts. Portions of the body I know I'll have some trouble with in future characters. Thank you.

I ment to say: I don't really have anything to say but I just wanted to comment.
@Jamison Thanks for your comment :D
@Julien Kaspar thanks
I don't really have anything to say but I wanted to comment.

Question : why not join all muscle primitives and remesh them, sculpt them together? Sculpting one by one would easily making muscle unmatch from each other, because brush will only effect one on them.
@Zony Zhao Nowadays, with some new features in Blender, I would at some point merge all these objects into a few unified objects. With topology or face set automasking it would then still be really easy to work on them separately or at the same time. But I wouldn't remesh them unless I would want to start blending them. Having them separate gives you a lot more control for changing the proportions of the muscles.

Hi Julien. This is my torso so far. I know it needs some polishing but I am trying to move on. When I have sculpted the whole body I will do some readjusting. This series is really helping me improve my sculpting skills. You did a great job on it, I am learning a lot. Did have some trouble with claystrips brush though, it didn't add much volume on a second pass, it acted sometimes as if it was the smooth brush. https://www.dropbox.com/s/v7ry7wf0j2r6vzs/captura%20de%20pantalla%202020-12-11%2000.25.42.png?dl=0
@Julien Kaspar, I have just seen in previous answers that maybe it would be advisable to reset some brushes. I will try it when I get home. Thanks again for this great series and for taking the time to help beginners like me.

Hi Julien, when i remesh, why it would different for u doing.
*@Chien* I don't think I really understand the question. Different how?
*@Julien Kaspar* https://drive.google.com/file/d/1mu_vAnXqB78k8I1_ymXy-uXhPiQtzvJN/view?usp=sharing
like this
*@Chien* Well the reason for that is that the top right might be further to the front or back than the rest. It's because of the way the voxel remesher works. There's nothing wrong with that ;)
*@Julien Kaspar* if you remesh the model, it would diffuse in the middle. I remesh the model, it would diffuse in the upper right.

Hi Julien, I'm loving this series so far! I've learned so much already and you do a great job of breaking everything down so it feels less intimidating. I wanted to ask your advice on the brushes you're using. I really like the harder edges that you get with the clay strips and crease tools, but I can never seem to get my brushes to look like that. I am using a tablet and have the pressure settings enabled too. I've tried playing with the falloff but it never looks quite right. If there are any custom settings that aren't shown or if you have any advice I'd really appreciate it! Thank you!
*@Drew Nicolo* I can recommend to reset all brushes that you are using to the default.


When I remesh, why does it turn to this?
https://drive.google.com/file/d/1dROHkH5ZWM0yGkPNco7RqIxAhy1p1Peo/view?usp=sharing
*@Abhirama Gopala Dasa* Very likely either because the object has thickness and it's trying to remesh only a shell but it's too thin,
or because there are big holes in the object, which make the voxel remesher fail to spot the volume of it.
To fill in holes before remeshing: Go to edit mode -> Press F3 and type in "Fill Holes" and use that one.
Then use the little popup window in the corner or press F9 to increase the sides to a huge number so that any size of a hole is filled.
Then try to remesh again.
How can I fix these holes when i Join some objects?
https://drive.google.com/file/d/1T9FjKPsxVYcjJxMh1ZkZCAYbrwZzqlDr/view?usp=sharing

hey, when i apply remesh to the object(voxel size 0.1m, same as you do), the object's wireframe are bigger comparing to yours because of which while i sclupt i see dimand shape. it is not that fine as you do in the tutorial. is their anything i am doing wrong?
*@Sundaram* The voxel remesher size is based on the world scale. It's very likely that our characters differ in size, so the example could be 3 meters tall while yours could be 10 meters.

Help! I followed all the steps above and saved. When I pull my project back up, it looks like everything ballooned and my body is deformed. Do you know how to fix this?
*@Tookietookiefilms* Crisis averted. I needed to apply my scale as I went along I believe. I am currently going object to object changing the scale to 1 and rotation to 0, then applying all transforms. That seems to fix my problem

@Tookietookiefilms I'm having the same issue. Tried to go through twice now, both times applying scale along the way. Whenever I quit out and go back in, my body is deformed and ballooned.
@Willow Davidson I'm still not sure why it's happening, but I figured out what I was doing wrong to solve it. I needed to change scale to 1 in edit mode rather than object mode. Future update: On the off chance someone else experiences this issue, it was because I had auto-keyframe enabled, which was preventing scale from being applied.
Join to leave a comment.