Login to view this content
Join Blender Studio for just €11.50/month and get instant access to all of our training and film assets!

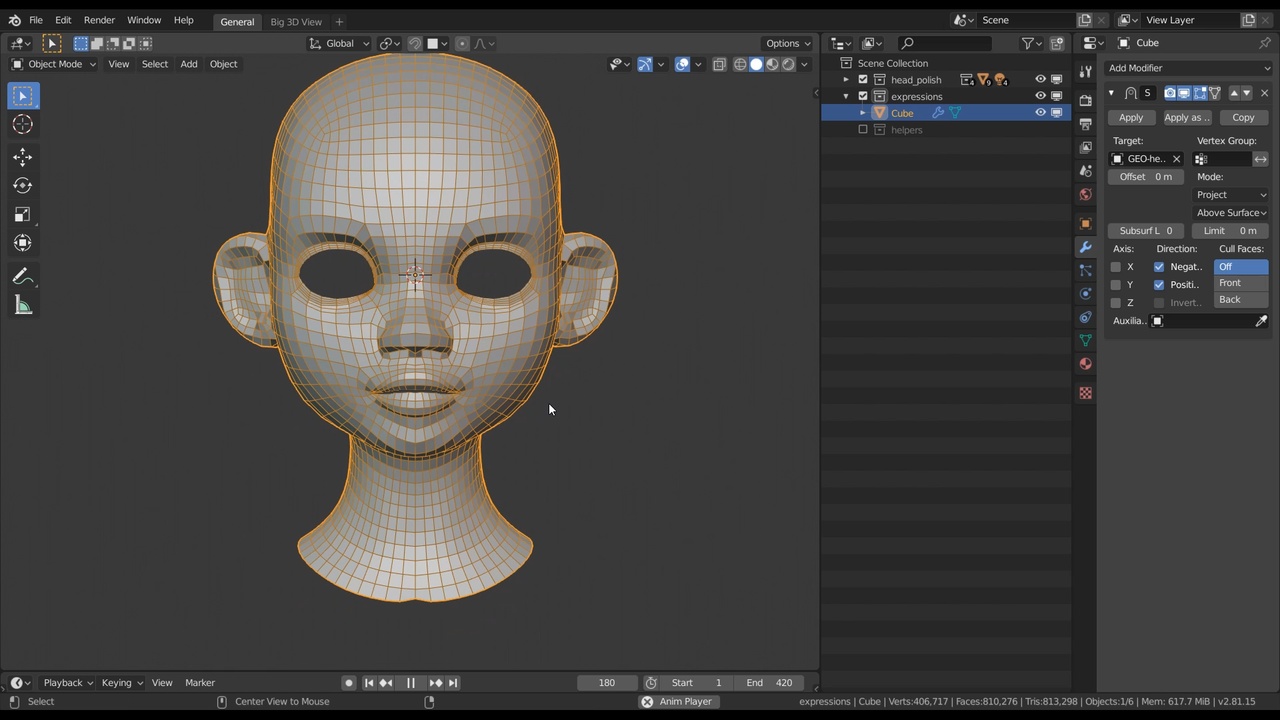
Fast & rough Retopology for the Head
In this lesson I'll show you how to create a fast & perfectly suitable retopology to base the expression tests on. This is a vital step since the head model needs to be both cleaned up and have enough geometry to sculpt the expressions from.
Links mentioned in the video:
- 00:36- Spring Expression Tests Timelapse: The timelapse video of the original expression tests of Spring. It doesn't include any commentary and it shows only a first pass with no additional feedback & polishing.
- 14:42- Sergi Caballer Timelapses: A 3 part timelapse video series on vimeo on box modeling a clean head retopology by Sergi Caballer. This is much more advanced than the purpose of this lesson but it's still very educational.
Other links:
- Rain - File 3: Expression Tests: The file of the expression tests made for the character Rain.
General Links
41 comments

Everything works well up until I have to extrude the ear. The ear becomes completely messed up, and I do not know what is going wrong. I am not sure what to do or how to fix this problem
@Anna Ho Try doing it at first with the shrinkwrap modifier off. This might give a better preview of the mesh while modeling. If that doesn't work, send a .blend file, screenshots or a video so I can help better.
@Julien Kaspar Turning off the shrinkwrap modifier made it better, thank you so much for your help and response.

Been following the course and learning a lot! I subscribed because of this course in particular. Thank you for the in-depth and thorough explanations. Sending love to all the wonderful people involved in making Blender & Blender Training. Thank you!
@Sarsawat Chimnikorn Thank you so much! I'm glad you liked it ^^

When I add a shrinkwrap modifier and select my intended target object: it displays perfectly.
When I apply the modifier: the vertices move back to where they were as though the modifier was never used.
Any idea of what I might be doing wrong?
Thanks!
@Jonathan Doe Not sure. Can you send me a file where I can reproduce the issue?
@Julien Kaspar
Here's a link to a google drive folder that includes the files and that includes a visual of my collections and how they interact.
https://drive.google.com/drive/folders/1Oq3311r-SeWuZ44-wRG9icdqQOMbSxtV?usp=sharing
If I need to change permissions, don't hesitate to let me know.
Thanks for your help!
@Jonathan Doe The issue is that modifiers can only be applied on the mesh that exists in Edit Mode. Since you have a Subdivision modifier first and then a Shrinkwrap, the subdivided mesh will be shrinkwrapped. So you would have to apply the Subdiv modifier first. If you try to apply modifiers in the wrong order Blender will even give you a message at the bottom "Applied modifier was not first, result may not be as expected".
But the best solution to the problem would be to use a multiresolution modifier instead of subdivision. If you apply the shrinkwrap onto a subdivided multires modifier it will be shrinkwrapped to those subdivisions, since they can be editied and sculpte on.
@Julien Kaspar
Thank you so much, Julien! Worked like a charm for what I need to do.
Just want to say I think it's amazing you still pop in here and respond to individual student inquires. Shows a real dedication to your lessons and I feel as though I'm getting what I pay for while learning so much. : D
@Jonathan Doe Thanks a lot! Responding to questions and helping out here in the comments is the least I can do ^^

Hi Julien, when I activate shrinkwrap modifier some vertices snaps weirdly than the others. I'm working hard to understand blender in general so I would really appreciate any help :D https://vimeo.com/549425268%C2%A0 https://drive.google.com/file/d/1pSIw9lOsYGalBQ2wo6rXenKmnFY08IMW/view?usp=sharing (this time I copied only the necessary objects to a new blender project so size of the file is reduced.)
@Ekin Kılıçdere I fix this problem by just moving vertices and adding additional cut loops :D What I need was to give a break to see what might cause problem.
@Ekin Kılıçdere It can help if you enable snapping as well. But yes, the shrinkwrap is trying to find the closest surface to move the vertices to. If you move them closer to where you want them to be the shrinkwrap will be more accurate.

sorry not 4:30 , in 10:25 for the ears
hello , in 4:30 minute . how can you add loop ? what is keyframe ? thanky u
@can Kadincik You can add loops with the Loop Cut Tool or by pressing Ctrl + R. Keyframes are for animation and will be pivotal for these lessons. I'm sorry but if you don't yet know these concepts then I recommend to watch the Blender Fundamentals tutorial series on YouTube first or other more beginner friendly tutorials or courses. You can of course continue watching but keep in mind that these videos will likely not hold your hand in how to use Blender on a fundamental level.
@Julien Kaspar Thank you for your quick reply :) but I'm not talking about ctrl + r. exactly 10:24 minutes. Creating shortcuts in a straight line on the earcups. this is not ctrl+r
@can Kadincik outer part of the ear
@can Kadincik I am filling in the missing faces. The outer part of the ear was still open. There are many ways to do this but the easiest way in my experience is to select an edge on one of these holes and press F to fill in a new 4 sided face. Do this repeatedly and you can quickly fill in the area.
@Julien KasparI .I knew the f button, I was just one click. don't understand the serial click thing thank you so much

First of all, wonderful video series I've been learning so much. I am having an issue that I'm having a tough time trouble shooting. When I go to extrude the edge loop for the ears the new mesh gets super distorted it seems to be clipping downward for some reason. I think that it's clipping to the body mesh, I re meshed the head with the body mesh which I'm realizing is a mistake. I unfortunately don't have any back ups. I tried creating a new vertex group to exclude from the shrink wrap but the SW modifier only seems to use vertex groups from the object it's applied to, so the new re topology mesh and not the sculpted mesh. I'm a bit at a loss is there anything I can do to fix this?
Thanks! One tip to seperate the body & the head again is to mask out one part and use "Mask Slice to New Object". If you want to avoid the wrong shrinkwrap preview I can reccomment to disable Edit Mode toggle in the modifier (next to viewport & render visibility). This way you can see and adjsut the geoemtry position better before then toggling the modfier back on. If you use the Project shrinkwrapping method then you can also define a "Limit" distance. That could prevent it from targeting the body too.
@Julien Kaspar it worked! thank you!!!

Hi Julien, i have a problem here with the final shrinkwrap modifier

*@adela.kormoutova*...and this is after shrinkwrap...

*@adela.kormoutova* This is weird. Maybe you can share the file because I can't really tell what could be causing this.
*@Julien Kaspar*
*@adela.kormoutova* I just realized that i can create a "project" here on blender cloud ... i ll try to upload it there...
*@adela.kormoutova* ...ok it doesn´t work.. too big file, i just can´t upload it... no chance :(((
*@adela.kormoutova* You can send it to me however you want or can ;)
*@Julien Kaspar* it has about 500MB, can you give me you e-mail?, I will send it via server Uschovna.cz
*@adela.kormoutova* It's julien@blender.studio
*@Julien Kaspar* https://www.uschovna.cz/zasilka/ARCCBCY8BPKPGMPK-9AU/
*@adela.kormoutova* i dont remember exactly how it works, but i think that you get some notification email with some password to download the file...
*@adela.kormoutova* I got the file.
I had a look and the reason why the shrinkwrapping is not working is because your sculpt has an outer and inner side:

The shrinkwrap modifier was just not sure if it should snap to the outer or inner side of the head.
I don't know how you managed to get this result but here's what I highly recommend :D
Even if you are sculpting with dyntopo, use the voxel remesher regularly.
When remeshed, all of these issues will usually be fixed automatically.
So if you ever have any shading issues, non-manifold geometry, intersecting meshes, unwanted thickness, floating meshes within the object, small open holes, or any other unknown issue:
Ctrl + R.
Just make sure the voxel size is small enough that you don't lose too much work.
thank you so much!! :)))))
*@Julien Kaspar* If you are so willing to look directly at the file in Blender, I´d love to send you the file or share it, I just don´t know how or where. Via google?
*@adela.kormoutova* I tried to upload the document here, but my pc stopped working :-D

Hello. When will u put the tutorial for Clean Retopology?
*@pop.loreee* Very soon.
Join to leave a comment.