Login to view this content
Join Blender Studio for just €11.50/month and get instant access to all of our training and film assets!

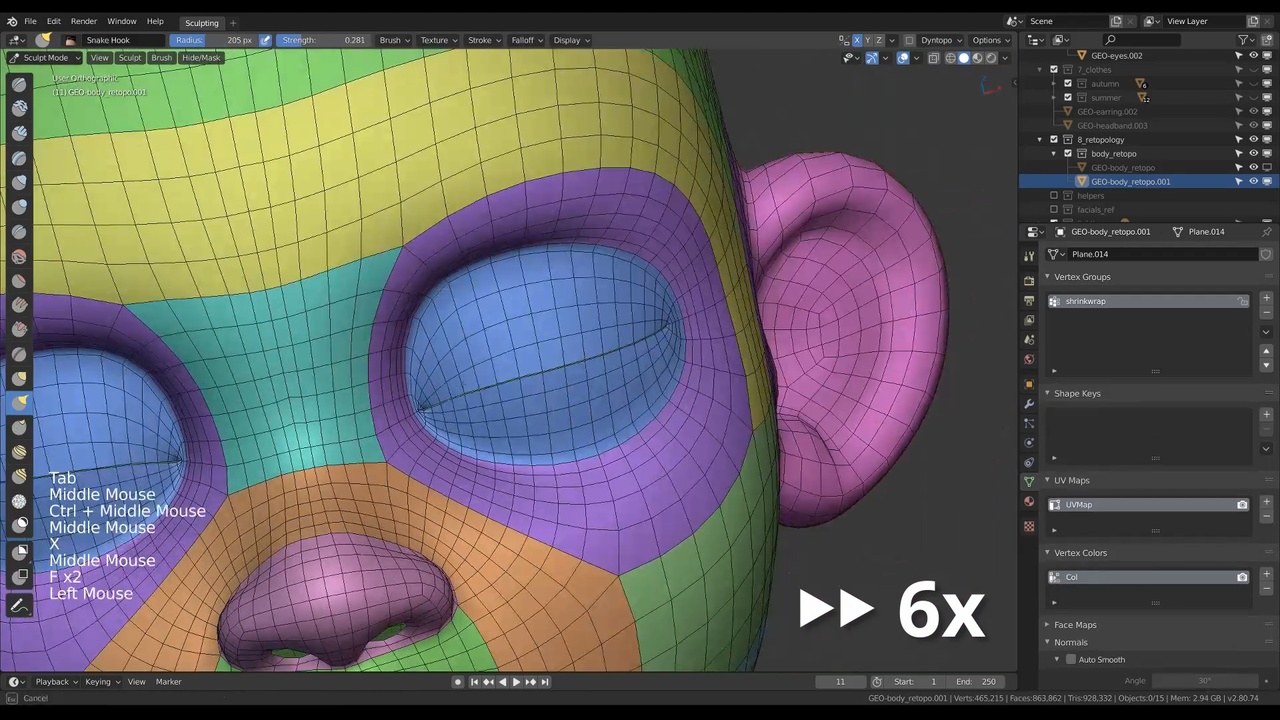
Timelapse: Inner Body & Transfering Volume
In this timelapse video it's all about applying the shrinkwrap modifier and modeling in missing areas like the inner mouth & extra details. I will also show how to easily preserve the original volumes & shapes of the sculpt.
Other helpful links:
- Rain - File 4: Retopology & UV mapping: The file that includes the original retopology of Rain.
General Links
40 comments

In the 00:26 say "copy and apply shrink wrap" but copy and apply the subdivision surface...?
I am lost in this way and it is explained in high velocity the part of "copy and apply the shrink wrap" and I have Blender 3.5.0 and copy option is inactive... :-(

https://drive.google.com/file/d/1jAeHy4RExhz1ZC4OW5w-maSzjt4lbbhi/view?usp=sharing%C2%A0 this is the multires obj which I'm planning to bake onto a normal map.

Hi, the tutorials have been great! I'm stuck now with this part.. I can't get the detail back after the shrinkwrap and the multires base have been applied. It seems to work on the mesh but after appliying a new subdivision modifier it loses some detail again. Could you help me figure out what I'm doing wrong? Here's my recording https://drive.google.com/file/d/1rtDreHrz7nPv34o4vmPG8Wid3tt7h7Xt/view?usp=sharing Thank you!
@Angel Mendoza Sorry if the information was unclear. The workflow I showed is not to preserve the details of the original sculpt. You use "Apply Base" to make sure the retopology will have the same shape and proportions as the original sculpt when subdivided.
If you would not do this, the retopology would smooth and shrink slightly, losing the shape of the original sculpt. To preserve the details you will need to either keep the multires modifier or bake the details into a displacement or normal map. Baking is not a topic I'm going over in this course though.
@Julien Kaspar ohh okay, I get it. Thanks for the quick reply!

Hello, question, how come most of the characters on Blender Cloud uses the subdivision modifier instead of the multires? Doesn't the multires preserve the volume better?
@coolyan2016 The subdiv modifier is adding resolution & smoothing the objects. It leads to a higher quality result for the render. The multires modifier does this too but you can sculpt on the subdivisions, creating details and defining the shape further by hand.
Hi @Julien Kaspar, is it possible to use the multiresolution modifier as it is without replacing it with a subdivision modifier to rig & animate? Because even though I clicked "apply base" in the multiresolution modifier, there is a loss of detail with using the subdivision modifier. Thank you!
@coolyan2016 Yes you can. We use the multiresolution modifier often for props and important environment assets to add detail if we don't have time to properly model and retopologize it. The mesh can still be rigged and animated. It's essentially like having vector-displacement on top of the base mesh. The apply base button is also merely to get the general volumes and shapes from the higher subdivisions back. Not to get all the details.
@Julien Kaspar Thank you for your response! Have you and your team used a multiresolution modifier on a main character before? I want to use a multiresolution modifier for my character, so would the multiresolution modifier go after the armature modifier?
@coolyan2016 We use the multiresolution modifier on the Alpha creatures on the movie Spring. This allowed us to add more surface detail without having to bake displacement maps. But the multires, just like if you would have displacement maps, they would come after the armature modifier.
Hi Julien, I have some questions. I see that in the file, "Rain 4: Retopology & UV mapping", Rain's eyes are closed in the basis shape key. Is this because it is easier to rig a character with closed eyes? What are the (main) reasons for this? Also, what exactly are shape keys used for? I sort of get the idea that it's beneficial for rigging, but is there more to it? If we make shape key that we really like, is there a way to use it in animation? Thank you! Btw, great series!
@coolyan2016 I went a bit back and forth on this. I've worked with riggers who liked to rig characters with their eyes closed by default. In our current movie production we go for open by default. Some suggest that half-open is the best base to rig from. It depends on what the rigger feels most comfortable with. Just in case for Rain I added both open & closed, either as a base to choose form or by having the other as a reference on the shape the rig needs to achieve. But generally the shape you start from is much easier to achieve in the rig.
So it depends on how often you see the character with their eyes closed. In Sprite Fright we barely every see them with their eyes shut (most of the time they are completely open and round) so all the characters have their eyes fully open in the retopo. If we would have shots with eyes closed for longer our rigger might've preferred half open eyes by default.
But nowadays I'd probably not go for completely closed eyes by default anymore.
@Julien Kaspar Thank you for the insight! And if you don't mind, do you prefer to texture characters with fully open eyes, half open eyes, or closed eyes? What are the reasons for your choice? Thanks again!
@coolyan2016 For texturing your characters it's actually very useful to have a shapekey for closed eyes. Your UVs should also look more like closed eyes so the textures on the eyelids won't end up incredibly stretched. So having that shapekeys to open/close the eyes is very useful.

Hello, now, I'm facing another problem with transferring the subdivided mesh's volume to base mesh with multiresolution modifier. I applied all the modifiers (except subdivision, as much as I understand, using subdivison modifier in retopology process is for having an idea about how will the mesh will look like after we use multires), then added multires, subdivided twice and clicked apply base and nothing happened. https://vimeo.com/557526075 subtitled
@Ekin Kılıçdere That's not really it. The subdivision surface modifier will subdivide and smooth the mesh (which results in loss of volume). The lowest subdivision got snapped/shrinkwrapped to the sculpt but subdividing it afterwards will result in ti loosing volume. In a recent live stream for the creation of "Snow" I explained it again. You can check it out here at 02:08:00 into the video.
@Julien Kaspar I understand it now, I made a mistake with applying shrinkwrap modifier before adding multires and subdiving the mesh with it. Thanks for reply Julien, I will try to watch the live streams as well. They seem quite informative as these videos.
Hi Julien, it's me again. I'm facing with a mirror modifier related problem. I faced with this problem before and even you as well in previous videos, and the solution was merging(auto) the vertices in the center. But this time it is harder due to more detailed mesh. https://vimeo.com/556821034 here is the subtitled video.
@Ekin Kılıçdere The mirror modifier will mirror the entire mesh along the origin point of your object. If this issue happens it must mean that your origin point is not in the center of the character but slightly shifted instead. You might need to fix it manually. An easy way to do this is to go into the sidebar (N) into "Tool" -> Options -> Affect only "Origins". You can then move the origin around and see the effect on the mirror modifier.
@Julien Kaspar Moving the origin worked just fine. Learning new things in blender is really exciting. Thank you Julien.
@Ekin Kılıçdere What I recommend to prevent this from happening in the first place is to have the character objects in the center of the scene. This way you can always be sure where the center was, where it's supposed to be and where new objects should have their center. Issues like this if they happen also then only take no time to fix.

@Julien Kaspar thank you for this tutorial. I have learned so much! I'm having some issues because the Apply Base feature in the Multires modifier is not working. There seems to be a bug in blender 2.9. Is there any way to fix this? Thank you!
@Pofipal Thanks! I'm not aware of any bug. Can you elaborate? You can also report it to get help from Blender developers.
@Julien Kaspar When I Apply Base and then remove the multires modifier it looks the same as before I added the modifier. There seems to be some sort of bug because some parts of the mesh are being less subdivided for some reason and when I go to sculpt mode it changes colors without my doing. Is there any way to fix this? Thank you!
@Pofipal I'm not sure. "When I Apply Base and then remove the multires modifier it looks the same as before". Are you sure you applied the shrinkwrap modifier? It won't work otherwise.
"There seems to be some sort of bug because some parts of the mesh are being less subdivided for some reason". Could be that the wireframe overlay is giving you a wrong impression. Or the level for obejct mdoe and sculpt mode are set to different numbers in the modifier.
"when I go to sculpt mode it changes colors without my doing". It could be that there are face sets on the object. I didn't explain them much in the course yet but you can just disable them in the overlays if you are not using them anyway.
@Julien Kaspar I went through all the steps in the video (duplicated the shrinkwrap, added multires, subdivided with mulitres, applied one shrinkwrap, applied base in multires) and it did not change the mesh at all. For the second problem, I have not been using the wireframe overlay for my retopolizing so I don't think that's the problem. In object mode, the legs and arms are being less subdivided even though they have the same spacing of vertices as the torso and are all connected. I disabled face sets and it fixed the problem in sculpt mode. Thank you for all of your help!
@Pofipal I think I can only help more if you can send me links to some screenshots, a video or even the .blend file. Sorry that I can't do more without more information.
@Julien Kaspar here is a link to a video of adding the multires modifier and how its not working: https://drive.google.com/file/d/1DCaI_KjfAkDJeBp8RkDPp6VpErlFdDll/view?usp=sharing Hopefully that makes sense! Thanks so much :)
@Pofipal You need to apply the shrinkwrap modifier before you apply the base. This will then add the details to your sculpt (on the higher subdivisions) and when you use apply base it will fit he base to those higher details.
@Julien Kaspar Sorry I sent the wrong video! Here's the correct link (I applied the shrinkwrap modifier before applied base and it still didn't work) : https://drive.google.com/file/d/13plhor72oqLk3VFwu-GOR3Raor531Sfh/view?usp=sharing
@Pofipal It worked. But you still have another shrinkwrap modifier enabled. Remove it and add a subdivision surface modifier to see your result.
@Julien Kaspar It worked! Thank you!
![[deleted]](/static/common/images/blank-profile-pic.05aafa6b130a.png "[deleted]")
Sorry It's not letting me send photos

What is the purpose forduplicating and applying the skinwrap? And I am a bit confused with the multires with the idea of applying the base and then removing it and putting a sub after that.
@Tsihoarana Randimbivololona It's a trick that I use to preserve the volume of the original sculpt. Once you finished the retopology and apply the shrinkwrap you will notice that the subdivided result will lose some of the original volume. This always happens. In the case of my retopology of Rain the density of the mesh is very high, so the loss of volume is very subtle.
The apply base button on the multires modifier is there to adjust the base mesh so that it matches the subdivided version as much as possible. This also means that it will prevent any loss of volume when subdivided. So we can abuse this option for the retopo workflow as well by shrinkwrapping the sculpted volumes & details back onto the retopo via multires subdivisions and then hit Apply Base to fix the volume loss. In some cases it can also create a bit more volume than what was there originally but the result is still much better. I hope this makes sense. Tbh this should not be this obscure and instead a clear, understandable feature in the UI.
@Julien Kaspar Thank you so much for your answer. I now completly understand it after trying it on one of my retopology and I do agree it helps a lot. Especially with the loss of volume in some area.
Hello, gerat tutorial. I have questions about retopology, especially with the newer version for blender.
Join to leave a comment.