Login to view this content
Join Blender Studio for just €11.50/month and get instant access to all of our training and film assets!

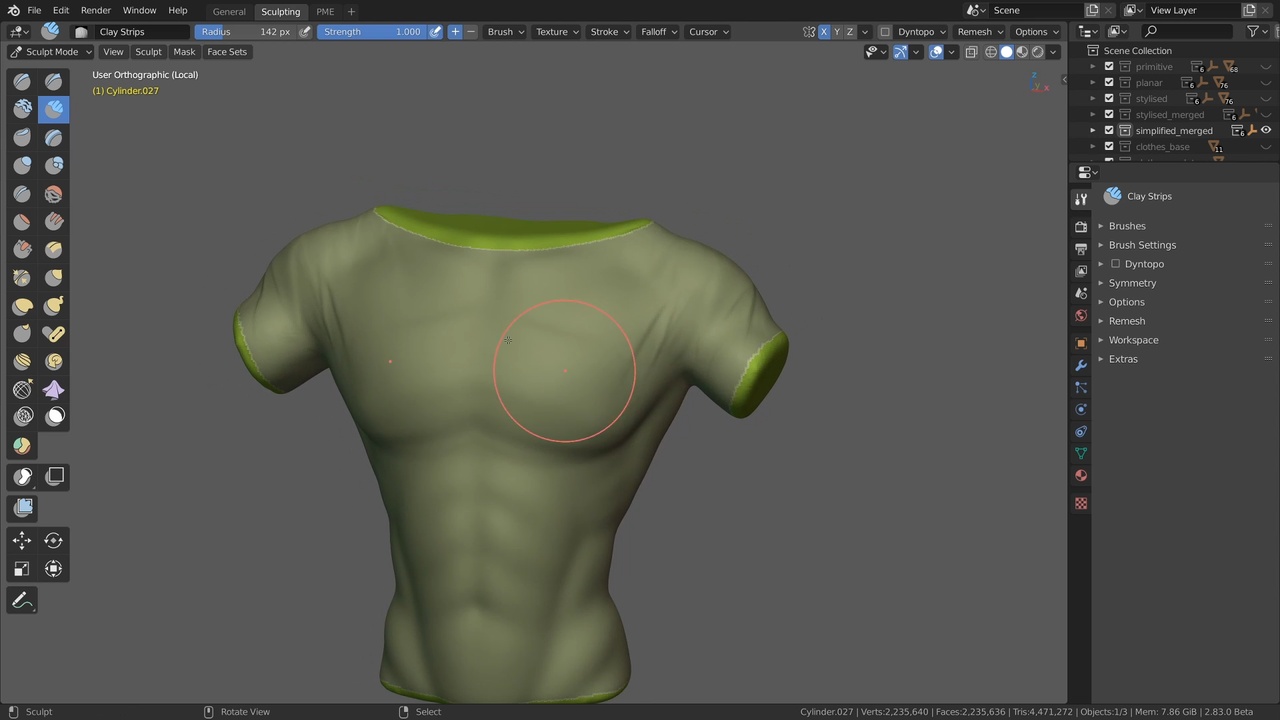
Update: Optimal Clothing Basemesh
In the original lessons I was leaving out one of the most important ways of creating a base mesh for sculpting clothes and in fact any other additional objects, like hair.
In this video I will fill that gap.
Other links:
- Body Sculpting Lessons .blend file: The asset file that contains all of my shown body & clothing sculpts from the chapter 2 lessons. It also includes the Annotation lines shown in the videos.
General Links
15 comments

in min 3:10 i couldn't hide the main face set..."h" is hiding the face set that was created earlier. any tip here?

@Ahmad Al Najjar The shortcuts are a bit different in sculpt mode. H hide everything except the face set you are pointing at. Pressing H again unhides everything. To hide a specific face set press Shift H.

@Julien Kaspar Thank you dear for your reply, I managed it

While this method gives more geometry to work with, how important is it for clothes to match the retopology of body?

@Bruce Matthews Not at all. It's just faster to get some topology to work with.

Thank you for the course. Learning so much. I used the mask method for creating the shirt. How do you create the shirt opening if you use this method?

When I click mask slice and fill holes, masked areas dissappear and only the unmasked part stays which is different than what happens in video. Anyone know why?

Even when you inflated the t-shirt you slided in front the model and inflated it... which key had you used...? I'm stuck :-(

@Carlos Meza It's left mouse click & drag. The effects can be subtle on high res geometry.

At minute 1:40 you slide the cursor in front of the model with the Mesh Filter tool with the Smooth type. When you slide the cursor in front of the model, which key do you touch for the effect to occur?

The new Blender Cloud website style make it hard to see the full text at the left what the video is about. Possible to fix?

@Erik Dahlbäck It's a known issue. We'll fix it :)

Really cool

Nice❤️

Nice. I need to learn more about these tools. Thanks.
Really looking forward to your texturing tutorials )
Join to leave a comment.