Login to view this content
Join Blender Studio for just €11.50/month and get instant access to all of our training and film assets!

Timelapse: Polishing Snow
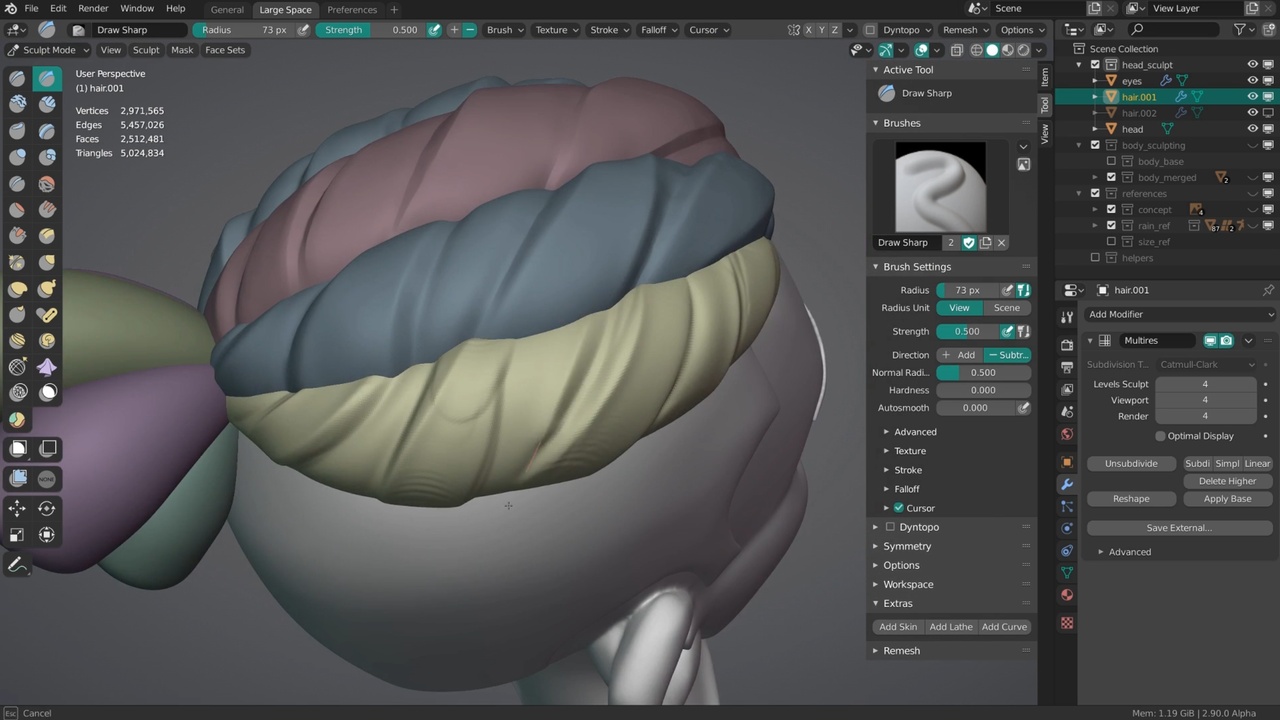
Now it's time to polish and refine the sculpt I made of the head & body and bring them together. This is also the time where I mostly sculpt using the high contrast matcap again to really get a good look at my surfaces and details.
I also made some notes on things I wanted to improve and feedback from others on the art team. Definitely give yourself some time and collect feedback before calling something done. Sometimes I was also moving too far away from the style of Rain so I pack paddled on that.
Luckily since the hands and hair were already made with clean topology I was able to use the multiresolution modifier there already to increase the amount of detail and polish. I also highly recommend to sculpt with flat shaded surfaces since that gives you a better idea of what your actual geometry is instead of getting a fake smoothed result.
Links:
- Blender Studio YouTube Channel: Here you will be able to find the latest live steams and more.
- Snow Sculpting File: The sculpting file of this and the following timelapses and live streams.
- Snow Sculpting File: The sculpting file of this and the following timelapses.
Join to leave a comment.