Login to view this content
Join Blender Studio for just €11.50/month and get instant access to all of our training and film assets!

Timelapse: Posing Snow
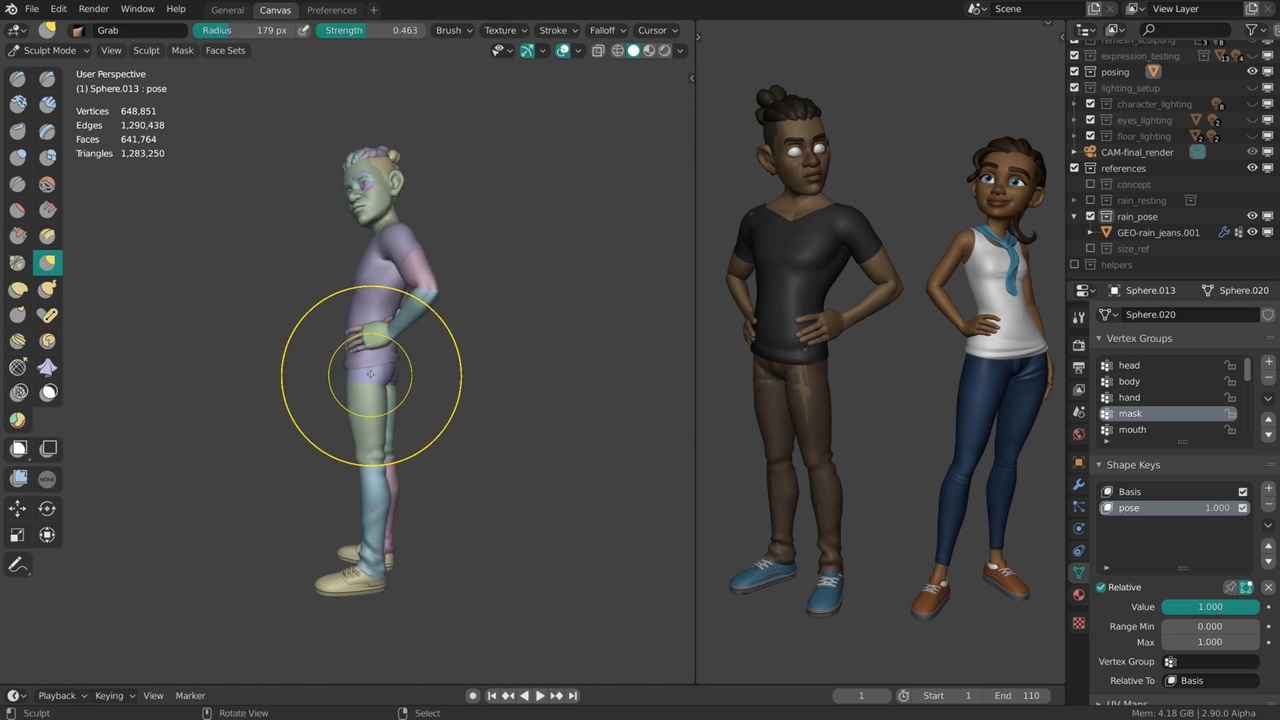
This timelapse is showing a very different workflow to what I did with Rain. To pose I Rain I actually rigged her with Rigify, which took a long time. For Snow there was already a lot of new functionality ins sculpt mode to pose him directly three. For this I used the new face sets, pose brush and transform tools.
But first off I made sure that all objects have face sets that align with each other and that the modifiers are mostly removed or applied. That way I can join the objects and pose everything together. Afterwards the separate meshes can still be separated into their own objects again.
Nowadays I would usethe pose brush more since it can deform disconnected meshes but the most efficient workflow most of the time with Snow was to mask off sections and use the transform tools to rotate limbs. Mask expand (Shift A) is also a functionality I used a lot for this. At first I kept the symmetry to save some time but eventually I started to pose him in more detail. All of this was also done with shapekeys so that I could work non-destructively and roll back changes if I needed to. Again: Make sure you only sculpt on the base resolution since shapekayes work there.
The pose itself was supposed to be similar to Rain's but still different enough. They would then be placed side by side next to each other. Rains size was one of the things that was adjusted as a result of creating Snow.
Unfortunately I sculpted the expression for Snow here on the multires layers. So there was no way of changing it back to the default to fix mistakes But it did give me extra control over creases and details in the face.
Links:
- Blender Studio YouTube Channel: Here you will be able to find the latest live steams and more.
- Snow Sculpting File: The sculpting file of this and the following timelapses and live streams.
- Snow Expression/Pose Testing File: The file that contains all final expression sculpts and the pose sculpt next to Rain.
General Links
2 comments

Some of the typos in the description caught me off-guard. One typo is "Nowadays I would sue the pose brush more." I've noticed this earlier, so I had to bring this up.

@Jayden Valdez Haha that's a common one! I fixed it, thanks.
Join to leave a comment.